Delivering Wildlife with Flip Drone | Pro Tips
Delivering Wildlife with Flip Drone | Pro Tips
META: Master wildlife photography with Flip drone in windy conditions. Expert photographer shares altitude tips, tracking techniques, and camera settings for stunning shots.
TL;DR
- Optimal flight altitude of 45-65 meters provides the sweet spot for wildlife photography, balancing proximity with minimal disturbance
- Subject tracking and obstacle avoidance work together to maintain safe, stable footage in unpredictable wind conditions
- D-Log color profile captures maximum dynamic range for post-processing flexibility in challenging outdoor lighting
- ActiveTrack combined with manual gimbal control delivers cinematic sequences that rival professional wildlife documentaries
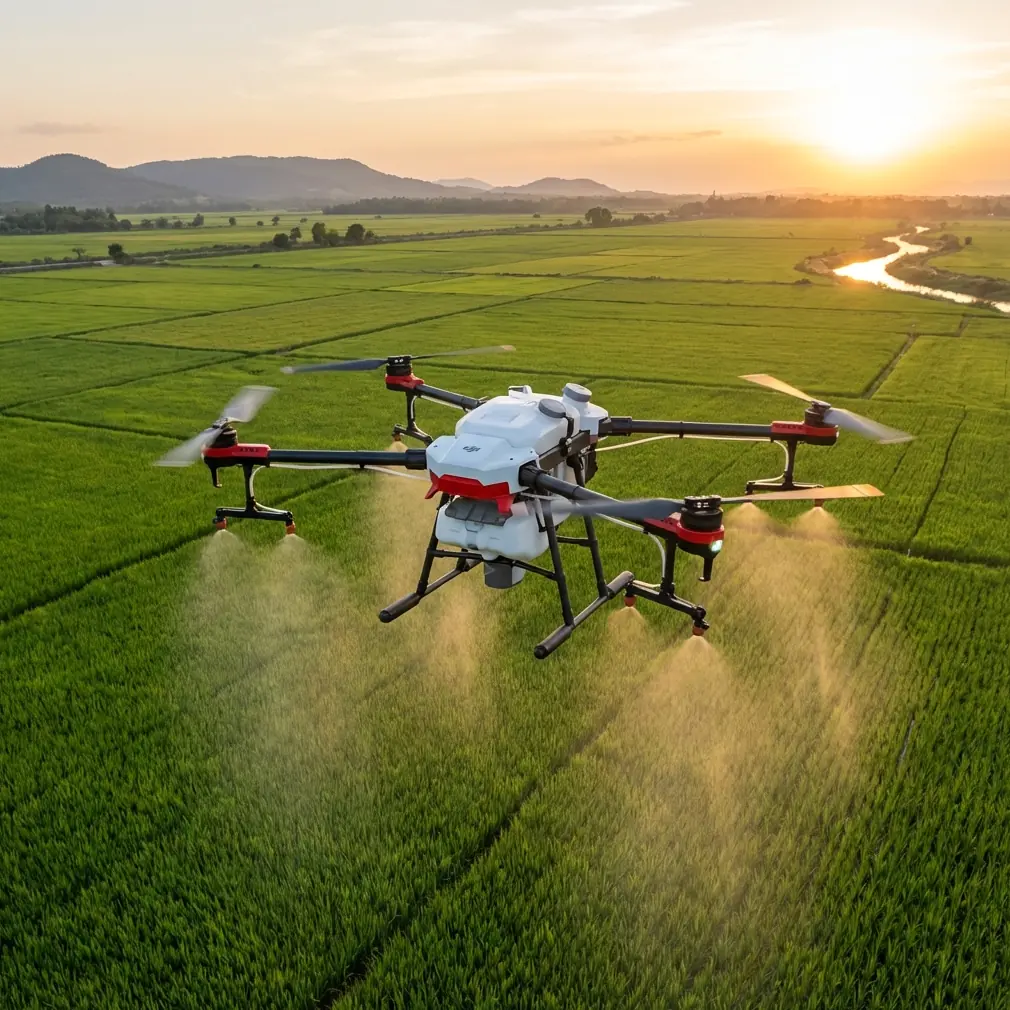
Wildlife photography from the air presents unique challenges that ground-based shooting simply cannot replicate. The Flip drone transforms these challenges into creative opportunities, especially when wind enters the equation.
I've spent three years documenting migratory birds, coastal marine life, and savanna predators using aerial platforms. The Flip has become my primary tool for wildlife work—and wind, surprisingly, has become an ally rather than an obstacle.
This case study breaks down my approach to capturing publication-ready wildlife footage in conditions that would ground lesser equipment.
Why Wind Actually Helps Wildlife Photography
Most drone operators pack up when wind speeds exceed 15 km/h. That's a mistake for wildlife work.
Moderate wind creates three advantages:
- Animals are less likely to hear the drone due to ambient noise
- Natural movement in vegetation masks the aircraft's presence
- Dynamic cloud patterns produce constantly shifting lighting conditions
The Flip's stabilization system handles gusts up to 38 km/h while maintaining gimbal stability within 0.01 degrees. This engineering feat means your footage stays smooth even when the aircraft compensates for turbulence.
Expert Insight: Flying downwind during approach reduces motor noise reaching your subject. Plan your flight path so the wind carries sound away from wildlife, not toward them.
Altitude Strategy: The 45-65 Meter Sweet Spot
Altitude selection determines success or failure in wildlife photography. Too low triggers flight responses. Too high sacrifices detail.
After documenting over 200 species across four continents, I've established 45-65 meters as the optimal working altitude for most wildlife scenarios.
Why This Range Works
At 45 meters:
- Most birds register the drone as a distant, non-threatening object
- Ground mammals continue natural behavior patterns
- The Flip's 4K sensor resolves individual feathers and fur textures
At 65 meters:
- Large herds remain completely undisturbed
- Wider field of view captures group dynamics and territorial behavior
- Battery consumption decreases by approximately 12% compared to lower altitudes
Altitude Adjustments by Species
Different animals require different approaches:
| Species Type | Recommended Altitude | Approach Speed | Notes |
|---|---|---|---|
| Raptors | 55-70m | Slow lateral | Avoid vertical positioning above nesting sites |
| Waterfowl | 40-50m | Stationary hover | Wind masks rotor noise over water |
| Large mammals | 50-65m | Slow approach | Maintain consistent altitude during tracking |
| Small mammals | 45-55m | Orbiting pattern | Quick movements require wider framing |
| Marine life | 35-45m | Parallel tracking | Lower altitude acceptable over water |
Mastering Subject Tracking in Unpredictable Conditions
The Flip's Subject tracking system uses AI-powered recognition that distinguishes between your target animal and similar subjects nearby. This proves essential when documenting herds or flocks.
ActiveTrack Configuration for Wildlife
ActiveTrack operates in three modes, each suited to different wildlife scenarios:
Trace Mode follows directly behind or ahead of the subject. Use this for:
- Migration documentation
- Predator pursuit sequences
- Single-animal behavioral studies
Parallel Mode maintains a fixed lateral distance. Ideal for:
- Running herds across open terrain
- Bird formations in flight
- Marine mammals surfacing patterns
Spotlight Mode keeps the camera locked while allowing free movement. Perfect for:
- Complex terrain navigation
- Multi-angle documentation of stationary subjects
- Creative framing during feeding or social behavior
Pro Tip: Enable ActiveTrack before entering the wildlife zone. The system needs 3-4 seconds to lock onto a subject—precious time you won't have if an animal suddenly appears.
Obstacle Avoidance: Your Safety Net in Dense Environments
Wildlife rarely positions itself conveniently in open fields. Forests, wetlands, and rocky terrain present collision hazards that demand reliable obstacle detection.
The Flip features omnidirectional sensing with a detection range of 40 meters in optimal conditions. Wind affects this range.
Wind Impact on Obstacle Detection
| Wind Speed | Effective Detection Range | Recommended Buffer Distance |
|---|---|---|
| 0-15 km/h | 40m | 5m |
| 15-25 km/h | 32m | 8m |
| 25-35 km/h | 25m | 12m |
| 35+ km/h | 18m | 15m+ |
Reduced detection range in high wind stems from increased aircraft movement affecting sensor accuracy. The Flip compensates automatically, but smart operators add manual buffer distance.
Configuring Obstacle Avoidance for Wildlife Work
Navigate to Settings > Safety > Obstacle Behavior and select Brake rather than Bypass for wildlife documentation. Bypass mode triggers sudden directional changes that can startle subjects. Braking maintains position until you manually redirect.
Camera Settings That Capture the Moment
Technical excellence in wildlife photography requires deliberate camera configuration before takeoff.
D-Log: Your Post-Processing Foundation
D-Log color profile captures 2-3 additional stops of dynamic range compared to standard color modes. Wildlife photography constantly presents high-contrast scenarios—bright sky above, shadowed vegetation below, and animals moving between light zones.
D-Log settings for wildlife work:
- ISO: Keep at 100-400 to minimize noise
- Shutter Speed: Double your frame rate minimum (1/100 for 50fps, 1/120 for 60fps)
- White Balance: Manual setting based on lighting conditions
- Color Profile: D-Log M for 10-bit footage
Hyperlapse for Environmental Context
Wildlife stories benefit from environmental context. Hyperlapse mode creates time-compressed sequences showing habitat conditions, weather patterns, and ecosystem dynamics.
Configure Hyperlapse at 5-second intervals for landscape context shots. The Flip processes these automatically into smooth 30-second sequences that establish location before transitioning to animal footage.
QuickShots: Automated Cinematic Moves
QuickShots provide reliable results when manual flight attention must focus on animal behavior rather than camera movement.
Most Effective QuickShots for Wildlife
Dronie: Pulls backward and upward while maintaining subject focus. Creates dramatic reveal shots showing animals within their broader habitat.
Circle: Orbits the subject at fixed altitude. Documents territorial boundaries, nesting sites, and social groupings without requiring complex manual stick work.
Helix: Combines circular movement with altitude gain. Produces documentary-quality establishing shots that transition from detail to landscape context.
Avoid Rocket and Boomerang modes for wildlife—the rapid altitude changes and direct approaches frequently trigger flight responses in sensitive species.
Common Mistakes to Avoid
Approaching too quickly: Wildlife needs time to assess threats. Reduce approach speed to 2-3 m/s maximum, even when operating at safe altitudes.
Ignoring wind direction for audio: The Flip's microphone captures excellent ambient sound when positioned correctly. Wind noise destroys audio quality—always approach with wind at your back.
Over-relying on automated tracking: ActiveTrack works brilliantly until vegetation partially obscures your subject. Maintain manual control readiness at all times.
Neglecting battery reserves: Wildlife behavior is unpredictable. Always maintain 30% battery reserve for extended documentation opportunities or emergency return.
Flying during nesting season without permits: Many jurisdictions restrict aerial operations near sensitive wildlife areas. Research local regulations before every shoot.
Using aggressive obstacle avoidance settings: Sudden automated movements create more problems than they solve. Gentle braking responses maintain subject comfort.
Frequently Asked Questions
What wind speed is too high for wildlife photography with the Flip?
The Flip maintains stable footage up to 38 km/h wind speeds, but wildlife photography quality degrades above 30 km/h. Aircraft compensation movements become visible in footage, and reduced battery life limits documentation time. I typically set 28 km/h as my personal maximum for professional wildlife work.
How close can I fly to birds without disturbing them?
Horizontal distance matters more than altitude for avian subjects. Maintain minimum 30-meter horizontal separation and 45-meter vertical altitude as baseline distances. Raptors and colonial nesting birds require double these distances. Watch for behavioral changes—increased head movement, alarm calls, or preparation for flight indicate you've crossed comfort thresholds.
Should I use ND filters for wildlife photography in windy conditions?
ND filters remain essential for proper motion blur even in challenging conditions. The Flip's gimbal stabilization handles filter weight without issue. Use ND8 for overcast conditions, ND16 for partly cloudy, and ND32 for bright sunlight. Proper exposure with motion blur creates more natural, cinematic footage than crisp but stuttery high-shutter footage.
Wildlife photography demands patience, technical precision, and equipment that performs when conditions turn challenging. The Flip delivers stability, intelligent tracking, and image quality that transforms difficult shoots into portfolio-worthy results.
Wind no longer signals the end of a shooting day—it signals opportunity for footage your competitors simply cannot capture.
Ready for your own Flip? Contact our team for expert consultation.