Flip Guide for Urban Wildlife Delivery Workflows: Accuracy
Flip Guide for Urban Wildlife Delivery Workflows: Accuracy, Safety, and Smarter Flight Planning
META: A practical Flip guide for urban wildlife delivery scenarios, focused on photogrammetry accuracy standards, obstacle-rich environments, water-area tolerance rules, and real-world workflow decisions.
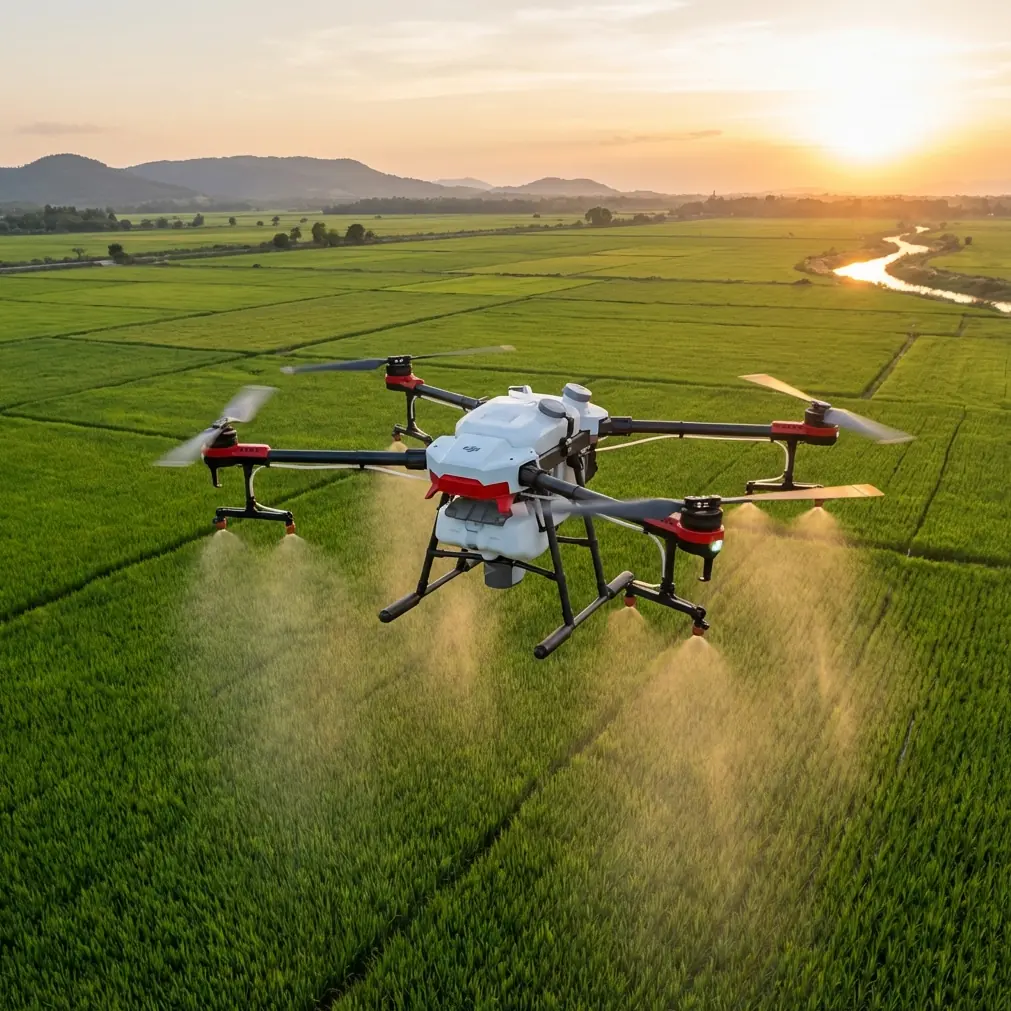
Urban wildlife work sounds simple until the route crosses rooftops, tree canopies, drainage channels, reflective ponds, fenced utility corridors, and narrow service lanes. That is where a capable compact drone like Flip stops being a casual flying camera and becomes a planning tool.
If your mission involves delivering wildlife support materials in urban settings—feed drops for managed habitats, sensor payload placement, nest-area observation support, or small non-invasive logistics to conservation teams—the hard part is not only getting airborne. The hard part is controlling accuracy and predictability across mixed terrain.
That is why one obscure but valuable reference point from aerial photogrammetry matters here: positional error tolerance changes by terrain type and map scale. On paper, that may look like a surveyor’s concern. In practice, it directly affects how you plan a Flip mission around waterways, dense building zones, and partially obscured green corridors.
This guide breaks that down in a way that is useful for real operators.
Why a photogrammetry standard matters to a Flip operator
The source material lays out point-position mean error thresholds for different environments. For a general area, the map-point mean error is 0.8 mm, translating to 0.4 m at 1:500, 0.8 m at 1:1000, and 1.6 m at 1:2000. In urban building zones and industrial/mining areas, the standard tightens to 0.6 mm, or 0.3 m at 1:500, 0.6 m at 1:1000, and 1.2 m at 1:2000. Water areas are looser at 1.5 mm, corresponding to 0.75 m, 1.5 m, and 3.0 m.
That spread is more than academic.
If you are flying Flip in a city wildlife corridor, three adjacent blocks can behave like three different mapping environments. A rooftop edge near a nesting site resembles the stricter logic of a built-up zone. A park interior with partial canopy behaves closer to a general area. A retention pond or open canal introduces the special-case uncertainty of water surfaces, where reflections and reduced visual texture make precision harder to maintain.
So when an operator says, “The drone can track the route,” that is only half the story. The real question is: track it to what tolerance, over what kind of surface, and with what margin for safe placement or observation?
The urban wildlife problem is not distance. It is surface complexity.
Urban delivery for wildlife support often happens in fragmented habitat. You may be moving between volunteer stations, veterinary staging points, rooftop gardens, creek edges, or fenced conservation enclosures. The route is short, but the environment is messy.
Flip’s appeal in this kind of work is obvious. A compact airframe, obstacle avoidance, subject-aware features like ActiveTrack, and fast capture modes such as QuickShots or Hyperlapse make it versatile for teams that need both transport support and visual documentation. Jessica Brown, coming from a photographer’s perspective, would probably appreciate that dual role immediately: one machine can document animal movement before the drop, provide a stable visual record after the operation, and still fit into a mobile field kit.
But the operational significance lies in knowing where automation helps and where it can create false confidence.
Obstacle avoidance is useful in urban greenways because wildlife support routes often pass close to branches, lamp posts, signage, cables, and roof appendages. Subject tracking can help if the mission includes follow-up observation of a released or relocated animal, especially when ground teams need visual confirmation from a stand-off distance. D-Log becomes valuable when documenting sensitive habitat edges in mixed lighting, where tree shade, concrete glare, and water reflection can blow out standard profiles and reduce the usefulness of footage for post-mission review.
Still, none of those features cancels the mapping reality in the reference material: some environments are intrinsically less precise than others.
Start with the most restrictive area, not the easiest one
A common planning mistake is to design the route around open sections of the mission. That works until the drone reaches the segment that actually controls mission risk.
For urban wildlife deliveries, the controlling segment is usually one of these:
- a built-up access point between structures
- a tree-obscured habitat edge
- an open water crossing or pond-side drop zone
- a service alley or courtyard with interrupted GNSS visibility
The photogrammetry reference gives a useful mindset: treat urban building zones as tighter-control environments. The listed positional standard there is 0.6 mm on-map, stricter than the 0.8 mm allowed in general areas. In simple terms, dense urban geometry demands more discipline.
For Flip operators, that means:
- Build your flight path around the tightest section.
- Use obstacle avoidance as a guardrail, not as your sole separation strategy.
- Reduce speed before entering the constrained segment.
- Verify the visual texture of the landing or release area.
- Avoid assuming that a route tested over pavement will behave the same over water or shadowed vegetation.
If the mission includes a rooftop garden where injured birds are being supported temporarily, the building cluster should dictate your route logic. If the destination is beside a canal, then the water-adjacent segment should dictate your approach profile.
Water changes everything, even in a short mission
The source document is especially revealing on water. It assigns 1.5 mm map-point mean error to water zones, and it even allows some water mapping scenarios to relax further to 2.0 mm under specified conditions, including 1:500 scale water mapping and broad flat water surfaces or open water deeper than 20 cm.
That is a practical warning for drone operators.
Water often looks open and forgiving from the air. Operationally, it is neither. Smooth or reflective surfaces reduce texture, complicate visual interpretation, and can make a drop point seem more stable than it is. If your wildlife support mission involves ponds, drainage channels, tidal edges, or constructed wetlands, the looser tolerance standard tells you that environmental confidence is lower there.
For Flip, this has three implications:
1. Keep your release or observation point off the water if possible
A bank, platform, vegetated edge, or marked service point gives better visual reference than an open reflective surface.
2. Use manual judgment even if the route appears visually simple
A straight shot over a pond may be the least reliable part of the mission if the aircraft or operator loses visual certainty about exact placement.
3. Capture documentation passes separately from the delivery pass
If you need visual records for habitat management, use Hyperlapse or a slow, controlled imaging leg before or after the logistics segment rather than trying to combine every objective into one aggressive flight.
This is where a photographer’s instinct helps. Separate the “make the shot” mindset from the “complete the task precisely” mindset. Flip can do both, but not always at the same time with equal margin.
Hidden or obstructed areas deserve extra tolerance in your plan
Another detail in the reference material matters a great deal for urban wildlife work: in concealed or difficult-to-survey general areas, the allowable tolerance may be relaxed by 50%.
That should not be read as permission to be sloppy. It should be read as a recognition that obstructed spaces behave differently.
Think of overgrown embankments, fenced habitat corners, under-canopy feeding stations, or narrow spaces between low-rise structures. These are exactly the places where urban wildlife teams operate. If the technical standard itself acknowledges degraded precision in hard-to-measure areas, then your Flip workflow should account for that before takeoff.
That means:
- adding buffer space around the intended drop or hover point
- selecting a more visible staging area when possible
- pre-walking the route from ground level
- choosing higher-contrast landing markers if the task requires precise placement
- using ActiveTrack only when the subject and background separation is visually clean
This is also the right place to mention accessories. One third-party addition that can genuinely improve capability is a high-visibility landing pad or foldable target mat. It sounds basic, but in obstructed urban habitat edges it can dramatically improve visual confirmation for takeoff, return, and payload placement assessment. For a small platform like Flip, that kind of accessory often contributes more to operational consistency than a flashy add-on ever will.
A practical Flip workflow for urban wildlife deliveries
Here is a field-tested way to think about the mission.
Step 1: Classify the route by surface type
Before flying, break the route into built-up zone, general green space, and water-adjacent segments. This mirrors the reference framework and forces you to treat each section according to its likely positional confidence.
Step 2: Define the accuracy that actually matters
Do you need exact placement within a tight rooftop corner? Or is the job simply to reach a broad habitat zone safely? The difference between a 0.3 m equivalent at 1:500 in a building area and a 0.75 m equivalent in water areas shows why the answer matters.
Step 3: Use camera modes intentionally
QuickShots are useful for pre-mission site visualization and stakeholder updates, but not for the mission-critical portion of the route. Hyperlapse can help document environmental change over repeated visits. D-Log is the better choice when you need footage that holds detail in bright roofs and deep shade at the same time.
Step 4: Fly the constrained segment first in rehearsal
Do a dry pass over the tightest area without payload release. This exposes branch encroachment, reflected glare, rooftop turbulence, and sightline gaps before the live mission.
Step 5: Reserve tracking tools for observation, not precision placement
ActiveTrack and subject tracking are strong tools when monitoring an animal’s movement after a support intervention, but they are not substitutes for deliberate positioning during delivery or placement work.
Step 6: Maintain a communication layer
If the operation involves multiple urban stakeholders—building access staff, conservation volunteers, rehab specialists—share route screenshots and staging notes before takeoff. If you need coordination on accessories, route setup, or visibility markers, you can even send field references directly through this WhatsApp contact channel.
Why this matters for Flip specifically
Flip sits in an interesting category. It appeals to creators because it is easy to carry and fast to deploy. Yet that same convenience makes people underestimate how disciplined the workflow should be in mixed urban terrain.
For wildlife-related urban tasks, the best Flip operators are the ones who think like surveyors for ten minutes before they think like pilots.
They ask:
- Is this segment effectively a building zone or a general zone?
- Does the presence of water reduce confidence?
- Is the target area hidden enough that I should build in wider tolerance?
- Am I using obstacle avoidance to reduce risk, or to justify an overambitious route?
- Should I separate documentation footage from the delivery task?
Those questions produce better outcomes than relying on feature lists.
The real value of standards is decision-making
The reference data does not tell you how to fly Flip. It tells you how reality behaves in different environments.
A 0.6 mm urban standard versus 1.5 mm for water, the possibility of 50% relaxed tolerance in concealed areas, and the special allowance up to 2.0 mm in some open-water mapping conditions all point to one operational truth: not every urban wildlife route deserves the same confidence level.
That is the key lesson.
If you are using Flip for urban wildlife support, build your workflow around the most difficult surface, not the most convenient path. Lean on obstacle avoidance, but do not surrender judgment to it. Use ActiveTrack and camera automation where they genuinely help, especially during observation and documentation. Add simple accessories, like a bright landing target, when they solve a visibility problem better than software can.
That is how compact drones become reliable tools in sensitive civilian work.
Ready for your own Flip? Contact our team for expert consultation.