Flip: Filming Forests in Complex Terrain
Flip: Filming Forests in Complex Terrain
META: Learn how the Flip drone captures stunning forest footage in complex terrain with obstacle avoidance, ActiveTrack, and D-Log color science. Full tutorial inside.
TL;DR
- Antenna positioning is the single biggest factor in maintaining signal strength when flying the Flip beneath dense forest canopies and through rugged terrain.
- The Flip's obstacle avoidance sensors and ActiveTrack work together to let you execute cinematic moves between trees without constant manual intervention.
- D-Log color profile preserves shadow detail under heavy canopy, giving you up to 3 extra stops of dynamic range in post-production.
- QuickShots and Hyperlapse modes automate complex shots that would otherwise require a two-person crew and hours of rehearsal.
Why Forest Filming Pushes Every Drone to Its Limits
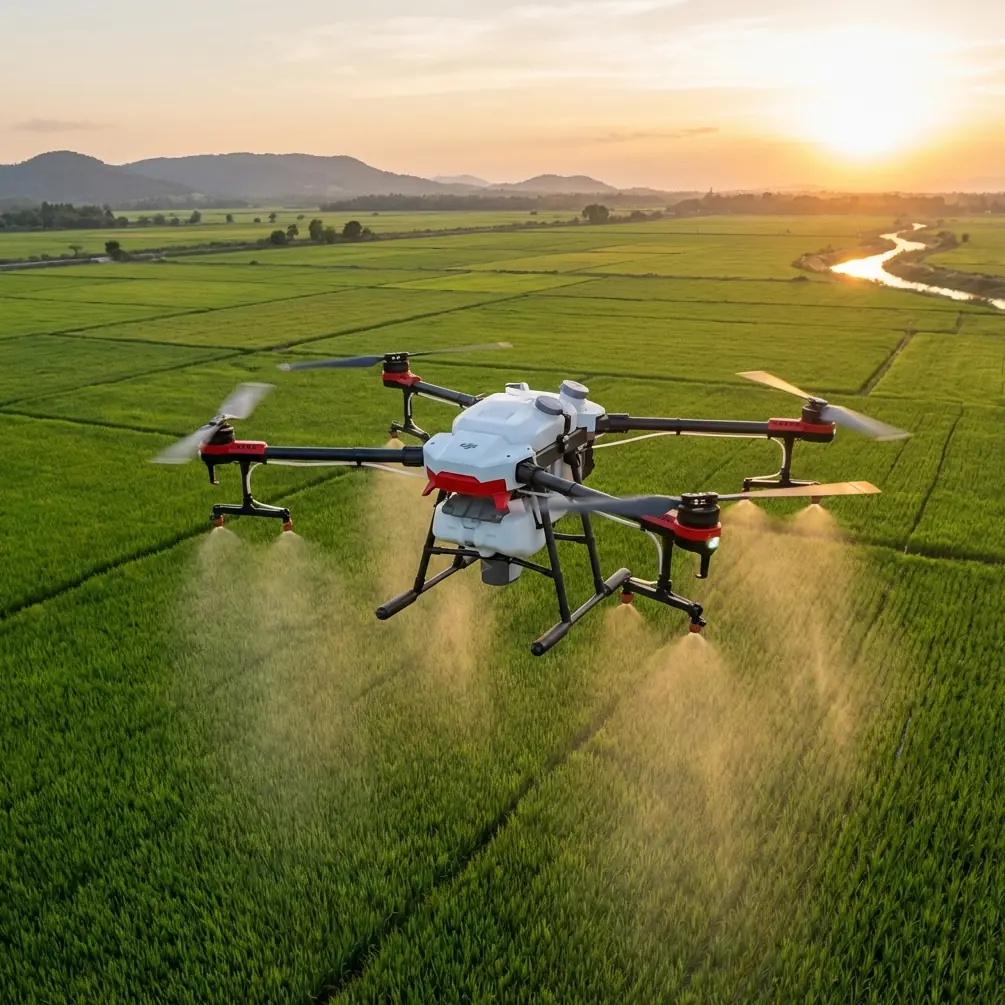
Forest environments punish sloppy flying. Tall canopy blocks GPS signals. Branches appear in your flight path without warning. Light shifts from blinding sun to near-darkness within a few meters. Most consumer drones either refuse to fly in these conditions or crash within minutes.
The Flip was designed for exactly this scenario. Its compact frame, multi-directional obstacle avoidance, and intelligent flight modes give solo creators a reliable tool for capturing footage that used to require heavy-lift cinema rigs and dedicated safety pilots.
This tutorial walks you through every step—from pre-flight antenna setup to final color grade—so you can fly the Flip confidently in dense woodland and walk away with professional-grade footage.
Step 1: Antenna Positioning for Maximum Range
Here's the single piece of advice that will save more flights than any other: your controller antenna orientation matters more than raw transmitter power.
The Flip's controller uses directional antennas. Signal radiates outward from the flat face of each antenna paddle, not from the tip. Most pilots point the antenna tips toward the drone—this is exactly wrong.
How to Position Your Antennas
- Point the flat face of each antenna toward the drone at all times.
- In forest flying, keep antennas perpendicular to the ground when the drone is at your altitude or below.
- When the Flip climbs above the canopy, tilt the antennas back about 45 degrees so the flat faces aim upward.
- Avoid standing directly behind thick tree trunks; even a single large trunk can cause signal attenuation of 6–10 dB.
- If possible, stand in a small clearing or on a trail intersection to maintain the widest line of sight.
Expert Insight — Chris Park, Creator: "I lost signal on my third-ever forest flight because I was standing behind an oak that was barely a meter wide. The signal dropped from four bars to zero in under two seconds. Now I always scout my takeoff position for line-of-sight gaps before I even unfold the arms."
Step 2: Configuring Obstacle Avoidance for Dense Canopy
The Flip's obstacle avoidance system uses a combination of visual sensors and ToF (Time-of-Flight) rangefinders to detect objects in its path. In open environments, the default settings work perfectly. Forests demand a few adjustments.
Recommended Settings
- Avoidance Mode: Set to "Bypass" rather than "Brake." Bypass lets the Flip route around obstacles instead of stopping dead, which produces smoother footage.
- Sensing Range: Increase to maximum (approximately 15 meters detection distance) so the system spots branches early.
- Flight Speed: Limit manual speed to no more than 5 m/s in dense sections. The avoidance system needs processing time, and flying too fast reduces its reaction window.
- Bottom Sensors: Keep enabled. Forest floors are uneven, and the downward-facing sensors prevent the Flip from descending into stumps, rocks, or undergrowth during landing.
What Obstacle Avoidance Cannot Do
No avoidance system is perfect. Thin branches under 5 mm in diameter, fishing line, spider webs, and very dark objects may not register. Always maintain visual line of sight and be ready to override with manual stick input.
Step 3: Using ActiveTrack Through the Trees
ActiveTrack is the Flip's subject-tracking engine. You draw a box around your subject on the controller screen, and the drone follows it autonomously. In forests, this feature transforms a solo hike into a full cinematic production.
Best Practices for Forest ActiveTrack
- Choose high-contrast subjects. A red jacket against green foliage gives ActiveTrack a strong lock. Camouflage clothing will cause tracking dropouts.
- Set the drone to follow from a 45-degree offset angle rather than directly behind. This gives the obstacle avoidance system a better forward view and creates a more dynamic parallax shot.
- Keep the drone at roughly chest height to head height. This altitude produces intimate, narrative-style footage and keeps the Flip below most branch hazards.
- Avoid tracking through transitions from sun to deep shade. The camera's auto-exposure shift can momentarily confuse the tracking algorithm. If you must cross light boundaries, lock exposure manually first.
Step 4: Automating Cinematic Moves with QuickShots and Hyperlapse
Two of the Flip's most powerful forest filming tools are its automated flight modes.
QuickShots in the Forest
| QuickShot Mode | Best Forest Use Case | Key Consideration |
|---|---|---|
| Dronie | Reveal shot pulling away from subject on a trail | Ensure clear path behind and above the drone |
| Circle | Orbiting a single landmark tree or waterfall | Set radius to at least 8 meters to avoid trunk collision |
| Helix | Ascending spiral through a clearing | Requires a gap in canopy of 10+ meters diameter |
| Rocket | Straight vertical rise through canopy for dramatic reveal | Only use if canopy has a visible opening directly above |
| Boomerang | Sweeping arc around a campsite or ruin | Needs the widest clear space; avoid in tight timber |
Hyperlapse Through Forests
Hyperlapse mode lets the Flip fly a pre-programmed path while capturing time-lapse frames, then stitches them into stabilized video. For forests, the Waypoint Hyperlapse sub-mode is most useful.
- Set 3 to 5 waypoints along a trail or creek bed.
- Keep total path length under 100 meters so the Flip stays within reliable signal range under canopy.
- Shoot during golden hour when shafts of light cut through the trees—the Hyperlapse will compress 20 minutes of shifting light into a breathtaking 10-second clip.
Pro Tip: Set your Hyperlapse interval to 3 seconds rather than the default 2 seconds in forests. The extra second gives the Flip's gimbal more time to settle between frames, eliminating micro-jitters caused by obstacle avoidance corrections mid-flight.
Step 5: Shooting in D-Log for Maximum Post-Production Flexibility
Forest canopy creates extreme contrast ratios. Bright sky peeks through gaps while the forest floor sits in deep shadow. A standard color profile clips highlights and crushes shadows, leaving you with unrecoverable data.
D-Log is the Flip's flat, log-gamma color profile. It captures a wider dynamic range by compressing tonal information into the mid-tones, preserving detail in both extremes.
D-Log Settings for Forest Filming
- ISO: Keep at 100 whenever possible. D-Log's flat profile can amplify noise at higher ISOs.
- Shutter Speed: Use the double-your-frame-rate rule (e.g., 1/60s for 30fps footage) and add an ND filter to maintain this in bright conditions.
- White Balance: Set manually to 5600K for golden hour or 6500K for overcast forest light. Auto white balance shifts between frames and creates color inconsistencies that are painful to correct in post.
- Color Space: If the Flip offers 10-bit capture in D-Log, enable it. The additional color data prevents banding in gradual gradients like misty forest backgrounds.
Quick Comparison: Standard vs. D-Log in Forest Conditions
| Parameter | Standard Profile | D-Log Profile |
|---|---|---|
| Dynamic Range | ~11 stops | ~14 stops |
| Shadow Detail | Crushed below IRE 15 | Preserved down to IRE 5 |
| Highlight Headroom | Clips at ~85 IRE | Rolls off at ~95 IRE |
| Post-Production Need | Minimal | Requires color grading |
| Best For | Social media quick-turn | Narrative and commercial work |
| Noise Floor | Lower perceived noise | Slightly more visible grain at ISO 400+ |
Common Mistakes to Avoid
Even experienced pilots make these errors in forest environments. Eliminate them before your next flight.
- Flying too fast for the avoidance system. The Flip's sensors need time. Exceeding 5 m/s in tight timber is the number one cause of branch strikes.
- Ignoring compass calibration. Mineral-rich forest soil and nearby rock formations can skew the magnetometer. Always calibrate on-site, not at home before you leave.
- Launching from soft ground. Leaf litter, mud, and moss can foul the Flip's bottom sensors and motors. Carry a small portable landing pad or launch from a flat rock.
- Forgetting to check battery temperature. Cold mornings in mountain forests can drop battery performance by up to 20%. Warm batteries in an inside pocket before inserting them.
- Relying solely on ActiveTrack without a backup plan. If tracking loses lock mid-shot, know your manual stick recovery. Practice the "pause-and-reacquire" technique before committing to a high-value take.
- Neglecting ND filters. Shooting D-Log at 1/60s in a sun-dappled clearing without an ND filter will blow out every highlight. Carry a set of ND8, ND16, and ND32 filters.
Frequently Asked Questions
Can the Flip's obstacle avoidance handle flying between closely spaced trees?
Yes, as long as the gap between trunks is at least 1.5 times the Flip's wingspan. Below that threshold, the avoidance system may trigger a full stop because it cannot calculate a safe bypass path. Reduce speed and consider switching to manual control for extremely tight gaps.
How does ActiveTrack perform when the subject moves behind a tree trunk?
ActiveTrack uses predictive algorithms. If the subject disappears behind an obstacle for fewer than 3 seconds, the system typically reacquires automatically once the subject reappears. Longer occlusions may cause tracking loss. Wearing distinctive, high-contrast clothing significantly improves reacquisition speed.
Is D-Log worth the extra post-production work for casual content creators?
It depends on your output. For social media stories and quick vlogs, the standard color profile delivers appealing results straight out of the drone. For any project where you want to match footage to other cameras, create a specific mood, or recover detail in high-contrast forest scenes, D-Log is worth every minute of grading time. The 3 extra stops of dynamic range are impossible to replicate after the fact.
Ready for your own Flip? Contact our team for expert consultation.