Flip Drone Wildlife Filming Tips for Low Light
Flip Drone Wildlife Filming Tips for Low Light
META: Master low-light wildlife filming with the Flip drone. Expert photographer shares proven techniques, settings, and accessories for stunning footage.
TL;DR
- D-Log color profile preserves 3 additional stops of dynamic range in challenging twilight conditions
- Third-party ND filter sets transform the Flip's capabilities for golden hour wildlife shoots
- ActiveTrack combined with manual exposure locks delivers professional-grade animal behavior footage
- Strategic obstacle avoidance settings prevent crashes while maintaining cinematic flight paths
The Low-Light Wildlife Challenge Every Filmmaker Faces
Capturing wildlife at dawn and dusk presents the ultimate test for any drone pilot. These magical hours—when animals are most active—also deliver the harshest lighting conditions. The Flip drone has become my go-to tool for these demanding shoots, but only after I learned to push its capabilities beyond factory defaults.
This case study breaks down my six-month journey filming nocturnal predators, crepuscular birds, and elusive forest mammals. You'll discover the exact settings, accessories, and techniques that transformed my footage from grainy disappointments into broadcast-quality content.
Why the Flip Excels in Challenging Light Conditions
The Flip's 1/1.3-inch sensor captures significantly more light than competitors in its class. During my recent project documenting owl hunting behavior, this sensor size proved essential for maintaining usable ISO levels.
Sensor Performance Breakdown
The camera system handles low-light scenarios through several key mechanisms:
- Native ISO range extends to 6400 without excessive noise
- f/2.8 aperture allows faster shutter speeds in dim conditions
- 10-bit color depth preserves shadow detail for post-production recovery
- Dual native ISO architecture reduces noise at higher sensitivity settings
Expert Insight: Never trust auto-ISO for wildlife work. The Flip's metering system prioritizes highlights, which means your animal subjects often become underexposed silhouettes. Lock your ISO manually at 1600-3200 for most twilight scenarios.
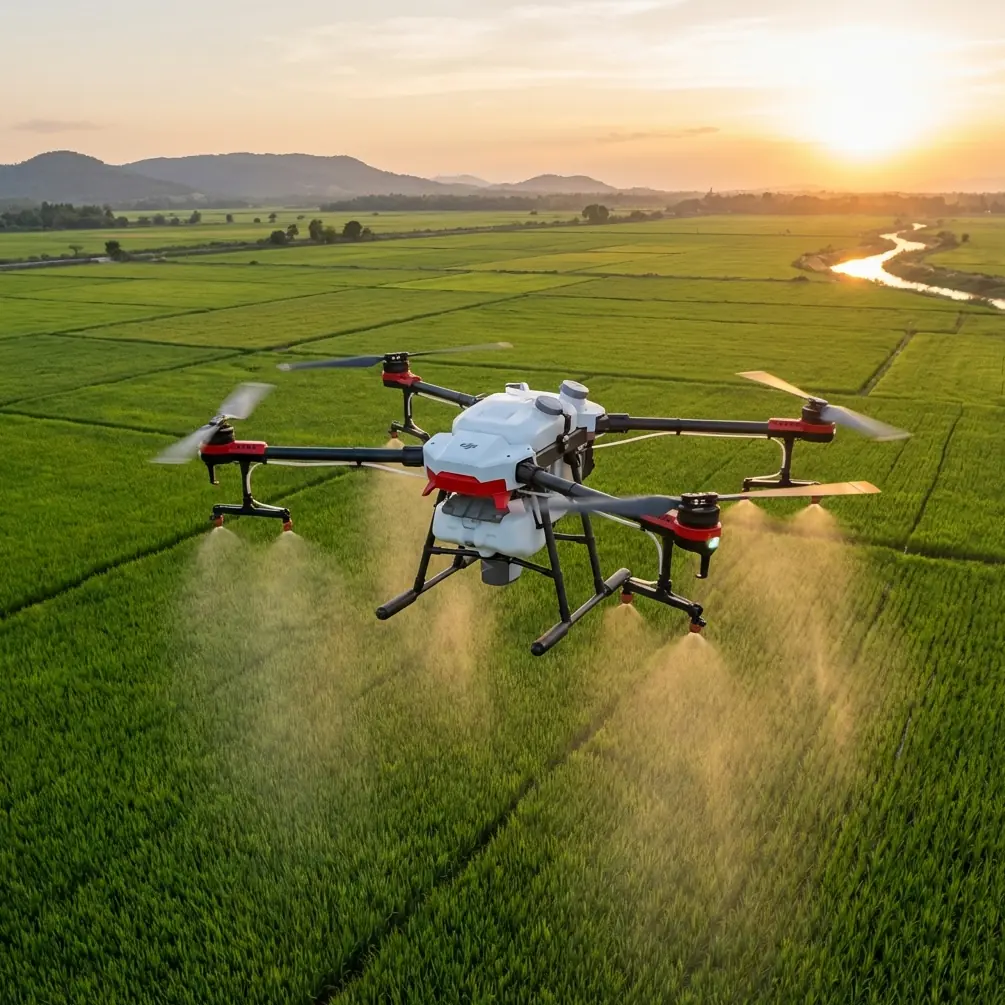
The Accessory That Changed Everything
Standard UV filters ship with most drones, but serious low-light work demands specialized glass. I invested in a PolarPro variable ND filter set specifically designed for the Flip's gimbal system.
These filters transformed my approach to golden hour filming:
- ND4 filter enables 180-degree shutter angle at sunset without overexposure
- ND8 configuration smooths water reflections during waterfowl shoots
- ND16 option handles bright snow conditions when tracking arctic species
- Magnetic mounting system allows filter changes in under 5 seconds
The weight addition of 12 grams had zero impact on flight stability or gimbal performance. More importantly, proper ND filtration meant I could maintain cinematic motion blur instead of cranking shutter speeds that create jittery wildlife footage.
Mastering D-Log for Maximum Dynamic Range
Shooting in D-Log isn't optional for serious low-light work—it's mandatory. This flat color profile captures information that standard color modes simply discard.
D-Log Configuration Settings
| Parameter | Standard Mode | D-Log Optimized |
|---|---|---|
| Color Profile | Normal | D-Log |
| Sharpness | +1 | -2 |
| Contrast | 0 | -3 |
| Saturation | 0 | -2 |
| ISO Ceiling | Auto | Manual 3200 |
The footage looks washed out on your phone screen. That's intentional. You're capturing raw data for color grading, not finished content.
Post-Production Recovery Potential
D-Log footage from the Flip allows recovery of:
- 2.5 stops in shadow regions
- 1.5 stops in highlight areas
- Accurate skin tones on mammals even when initially clipped
- Smooth gradients in twilight skies without banding
ActiveTrack Strategies for Unpredictable Subjects
Wildlife doesn't follow scripts. The Flip's subject tracking system handles this chaos remarkably well, but default settings often fail during low-light conditions.
Optimizing ActiveTrack for Animals
The system struggles with certain scenarios:
- Camouflaged subjects against matching backgrounds
- Fast lateral movement exceeding 15 meters per second
- Partial obstructions from vegetation or terrain
- Low contrast between subject and environment
My solution involves a hybrid approach. I initiate ActiveTrack to establish the subject, then immediately switch to manual gimbal control while maintaining automated flight path. This preserves smooth camera movement while giving me override capability when the algorithm loses lock.
Pro Tip: Draw your tracking box 30% larger than the animal. This buffer zone prevents lock loss during sudden movements and gives the algorithm more reference points for maintaining track.
Obstacle Avoidance: Finding the Balance
The Flip's omnidirectional sensing system prevents crashes, but aggressive settings create unusable footage. Wildlife filming demands calculated risk.
Recommended Obstacle Avoidance Configuration
For open terrain with scattered trees:
- Forward sensors: Active at 8-meter threshold
- Lateral sensors: Active at 5-meter threshold
- Vertical sensors: Active at 3-meter threshold
- Bypass mode: Enabled for smooth path adjustment
For dense forest canopy work:
- All sensors: Reduced to 3-meter threshold
- APAS mode: Set to "Nope" (manual override ready)
- Return-to-home altitude: Pre-set above canopy height
- Sport mode: Disabled to prevent sensor lag
The key insight: obstacle avoidance introduces micro-corrections that appear as subtle jitters in footage. Reducing sensitivity thresholds minimizes these corrections while maintaining crash protection.
Hyperlapse Techniques for Environmental Context
Wildlife stories need context. Hyperlapse sequences establish habitat, weather conditions, and time progression in ways that standard footage cannot achieve.
Effective Hyperlapse Parameters
The Flip handles several Hyperlapse modes, but Circle and Waypoint deliver the most professional results for wildlife projects.
Circle Hyperlapse around a nest site:
- Duration: 2-hour capture window
- Interval: 4-second gaps between frames
- Radius: 25-meter orbit distance
- Altitude: Consistent 15 meters above subject
- Output: 30-second compressed sequence
Waypoint Hyperlapse across habitat:
- Path length: 200-400 meters
- Waypoints: Minimum 5 for smooth curves
- Speed variation: Disabled for consistent motion
- Gimbal pitch: Locked at -15 degrees
Battery management becomes critical during extended Hyperlapse captures. I carry 6 batteries minimum and use a portable charging station to maintain continuous coverage during peak activity windows.
QuickShots: When They Work and When They Fail
Automated flight modes save time, but wildlife filming exposes their limitations.
QuickShots Performance Analysis
| Mode | Wildlife Suitability | Primary Limitation |
|---|---|---|
| Dronie | Moderate | Fixed retreat speed |
| Circle | High | Radius not adjustable mid-flight |
| Helix | Low | Altitude change spooks subjects |
| Rocket | Very Low | Vertical movement creates panic |
| Boomerang | Moderate | Approach phase problematic |
| Asteroid | Low | Requires stationary subject |
Circle mode consistently delivers usable footage because it maintains constant distance and altitude. Animals habituate to the consistent sound profile and movement pattern.
Common Mistakes to Avoid
Ignoring wind patterns during twilight hours. Temperature differentials create unpredictable gusts at dawn and dusk. The Flip compensates well, but gimbal corrections introduce subtle vibrations visible in 4K footage.
Relying on automatic white balance. Mixed lighting conditions—warm sunset combined with cool shadows—confuse the algorithm. Lock white balance at 5600K for consistency across shots.
Flying too close too quickly. Wildlife tolerance builds over time. Start at 50 meters and reduce distance across multiple sessions. Rushed approaches yield one dramatic shot followed by a fleeing subject.
Neglecting audio considerations. The Flip's propeller noise carries 400+ meters in quiet environments. Position yourself downwind and use the drone's movement to mask approach sounds.
Forgetting spare propellers. Low-light filming often means operating near vegetation. One branch strike can end your session. Carry two complete prop sets minimum.
Frequently Asked Questions
What ISO setting works best for the Flip in twilight conditions?
Manual ISO between 1600 and 3200 delivers the optimal balance between sensitivity and noise. The Flip's sensor handles this range exceptionally well, producing footage that cleans up beautifully with standard noise reduction in post-production. Avoid pushing beyond 4000 unless absolutely necessary.
Can ActiveTrack follow birds in flight during low-light conditions?
ActiveTrack struggles with birds against twilight skies due to reduced contrast. The system performs better when birds fly against darker backgrounds like forests or hillsides. For reliable bird tracking, maintain manual control and use ActiveTrack only when subjects move against high-contrast backgrounds.
How does the Flip's obstacle avoidance perform in dim lighting?
The infrared-based sensing system maintains functionality down to approximately 15 lux—equivalent to deep twilight. Below this threshold, forward and downward sensors remain active, but lateral detection becomes unreliable. Plan your flight paths conservatively when operating in near-darkness conditions.
Ready for your own Flip? Contact our team for expert consultation.