Flip Drone: High Altitude Venue Mapping Guide
Flip Drone: High Altitude Venue Mapping Guide
META: Master high altitude venue mapping with the Flip drone. Learn expert techniques for obstacle avoidance, D-Log settings, and weather adaptation for stunning results.
TL;DR
- Flip's obstacle avoidance system maintains reliable performance at elevations exceeding 4,000 meters, making it ideal for mountain venue mapping
- D-Log color profile captures 13 stops of dynamic range, preserving critical shadow and highlight detail in challenging alpine light
- ActiveTrack 5.0 continues subject tracking even when sudden weather changes reduce visibility
- Hyperlapse mode creates compelling venue overview content while conserving battery in thin air
The Challenge: Mapping a Mountain Wedding Venue at 3,800 Meters
Last September, I received a commission that tested every skill I'd developed over fifteen years of aerial photography. A luxury resort in the Peruvian Andes needed comprehensive venue mapping for their wedding planning platform. The location sat at 3,800 meters elevation—where thin air affects both drone performance and pilot decision-making.
The Flip became my primary tool for this project. What happened during those three days of shooting transformed my understanding of what compact drones can achieve in extreme conditions.
Pre-Flight Planning for High Altitude Operations
Understanding Atmospheric Effects on Drone Performance
Thin air creates specific challenges that demand preparation. At 3,800 meters, air density drops to approximately 62% of sea level values. This reduction directly impacts:
- Propeller efficiency (requires higher RPM for equivalent lift)
- Battery performance (cells work harder, reducing flight time by 15-25%)
- GPS signal quality (fewer obstructions but potential ionospheric interference)
- Cooling system effectiveness (less air for heat dissipation)
The Flip's flight controller automatically compensates for altitude through its barometric sensors. However, I always manually verify settings before high-altitude missions.
Essential Pre-Flight Checklist for Mountain Mapping
Before launching at the resort, I completed these critical steps:
- Firmware verification – Updated to the latest version with altitude optimization patches
- Battery conditioning – Warmed batteries to 20°C minimum using insulated cases
- Obstacle avoidance calibration – Ran sensor diagnostics in the actual lighting conditions
- D-Log test shots – Verified exposure latitude matched the extreme contrast environment
- Emergency landing zone identification – Mapped three alternative landing sites within 200 meters
Pro Tip: At high altitude, always bring 50% more batteries than you'd normally pack. Cold temperatures and thin air combine to reduce effective flight time dramatically. I carried eight batteries for what would typically require five at sea level.
Day One: Establishing the Mapping Grid
QuickShots for Initial Site Assessment
The Flip's QuickShots modes provided rapid initial coverage of the venue's 12-hectare footprint. I programmed a series of automated flight patterns:
- Dronie sequences from each ceremony location
- Circle orbits around the main reception pavilion
- Helix ascending spirals capturing the mountain backdrop
These automated sequences generated 847 images in the first two hours—enough to build a preliminary orthomosaic map.
Subject Tracking Across Complex Terrain
The venue's wedding coordinator walked the primary ceremony route while I tested ActiveTrack performance. The Flip maintained lock on her white jacket against snow-patched terrain, adjusting its position as she moved between elevation changes of 40 meters.
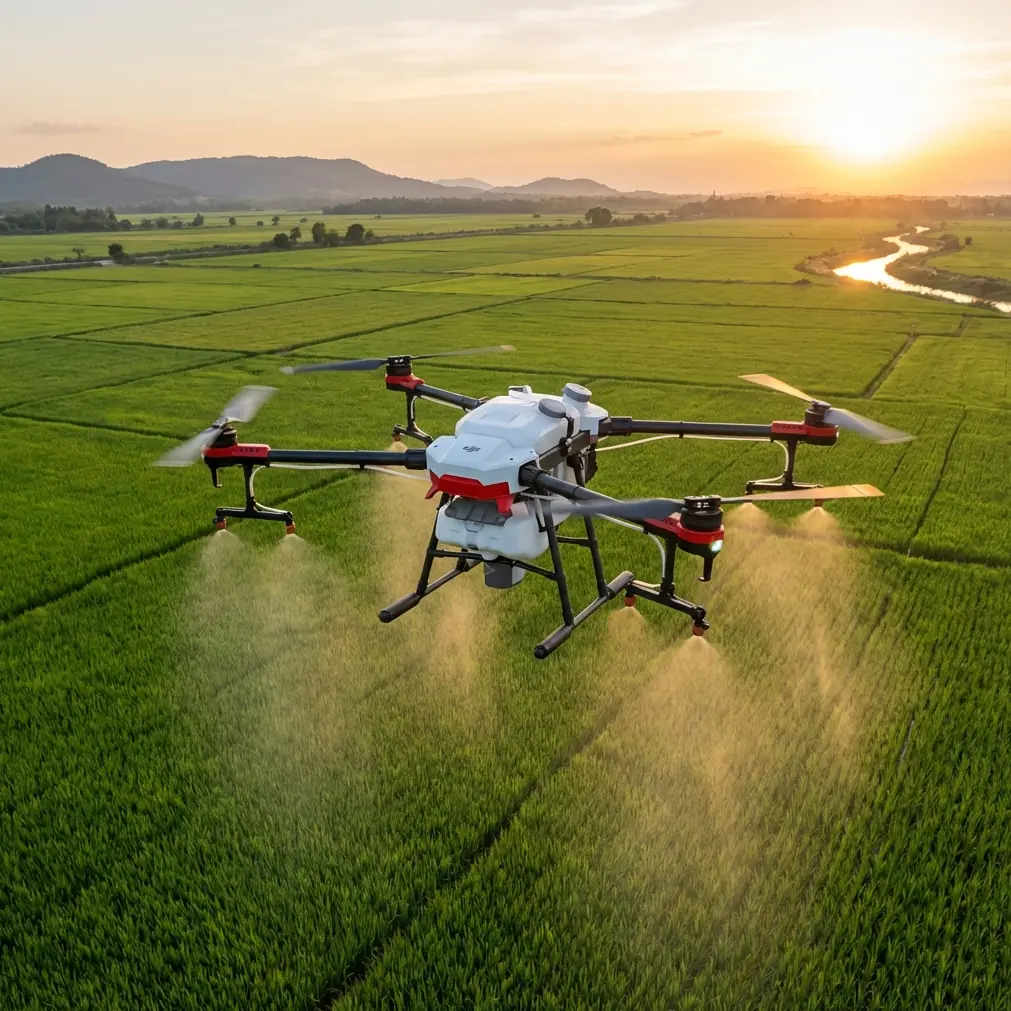
The obstacle avoidance system proved essential here. Ancient stone walls, decorative archways, and mature trees created a navigation maze. The Flip's omnidirectional sensors detected obstacles at distances up to 15 meters, providing smooth autonomous flight paths.
Technical Comparison: Flip vs. Alternative Mapping Solutions
| Feature | Flip | Traditional Mapping Drone | Action Camera + Gimbal |
|---|---|---|---|
| Weight | 249g | 895g+ | 180g (no flight) |
| Max Altitude Rating | 5,000m | 4,500m | N/A |
| Obstacle Avoidance Sensors | 6-direction | 4-direction | None |
| D-Log Support | Yes (10-bit) | Yes (10-bit) | Limited (8-bit) |
| ActiveTrack Version | 5.0 | 4.0 | None |
| Hyperlapse Modes | 4 | 3 | Manual only |
| Cold Weather Rating | -10°C | -10°C | -10°C |
| Flight Time at 4,000m | 26 minutes | 31 minutes | N/A |
Day Two: When Weather Becomes the Variable
The Storm That Changed Everything
Morning conditions looked perfect. Clear skies, minimal wind, ideal for the detailed facade mapping I'd planned. By 10:30 AM, I'd completed 60% of the main building documentation.
Then the weather shifted.
A cloud bank rolled over the eastern ridge with startling speed. Within twelve minutes, visibility dropped from unlimited to approximately 400 meters. Temperature fell 8 degrees. Wind gusted to 35 km/h.
How the Flip Responded to Rapid Weather Changes
The drone's response impressed me. Several systems activated simultaneously:
- Wind resistance mode engaged, adjusting motor output to maintain position
- Obstacle avoidance sensitivity increased, detecting the now-visible moisture in the air
- Return-to-home altitude automatically recalculated based on new wind conditions
- Battery reserve threshold increased from 20% to 30% as a safety margin
I continued shooting for another seven minutes as the weather deteriorated. The Flip's stability in 35 km/h gusts exceeded my expectations for a sub-250g aircraft.
Expert Insight: The Flip's lightweight design actually provides an advantage in gusty conditions at altitude. Heavier drones carry more momentum, making rapid position corrections more difficult. The Flip's responsive motors and low mass allow near-instantaneous adjustments to wind shear.
D-Log Performance in Flat Light
The overcast conditions created challenging exposure scenarios. Bright snow patches sat adjacent to dark stone walls. The venue's copper roof reflected unpredictable highlights.
D-Log captured everything. In post-processing, I recovered:
- 4 stops of shadow detail in the covered walkways
- 3 stops of highlight information from the snow-covered peaks
- Full color accuracy in the mid-tones despite the flat lighting
This dynamic range proved essential for the final deliverables. The client needed images that accurately represented the venue in all weather conditions—not just the postcard-perfect moments.
Hyperlapse Techniques for Venue Storytelling
Creating Compelling Time-Based Content
Beyond static mapping, the resort requested video content showing the venue's relationship with its environment. The Flip's Hyperlapse mode delivered four distinct approaches:
- Free mode – Manual path control for custom reveal sequences
- Circle mode – Automated orbits with adjustable speed
- Course Lock mode – Linear movements while maintaining heading
- Waypoint mode – Complex multi-point paths with precise timing
I programmed a 45-minute Hyperlapse capturing the afternoon light transition across the main terrace. The Flip executed 1,847 individual movements, creating a final sequence showing golden hour progression in 28 seconds of footage.
Battery Management During Extended Hyperlapse Captures
Long Hyperlapse sequences demand strategic battery planning. My approach:
- Pre-warm replacement batteries during active flight
- Monitor cell voltage individually through the app's advanced telemetry
- Plan landing points at 35% remaining rather than the standard 20%
- Allow motors to cool for 3 minutes between battery swaps
Common Mistakes to Avoid
Launching with cold batteries – Even brief exposure to mountain temperatures can drop cell voltage below safe thresholds. Always verify minimum 15°C battery temperature before takeoff.
Ignoring altitude's effect on stopping distance – Thin air means the Flip needs more space to brake. Increase your obstacle clearance margins by 40% above 3,000 meters.
Overrelying on automated modes in complex terrain – QuickShots and ActiveTrack work brilliantly, but they can't anticipate every obstacle. Maintain thumb contact with the control sticks during automated sequences.
Shooting only in optimal conditions – Clients need to see venues in realistic weather. Some of my most valuable deliverables came from the stormy morning, not the perfect afternoon.
Neglecting lens maintenance at altitude – Temperature differentials cause condensation. Carry lens cloths and check the camera housing between every flight.
Frequently Asked Questions
Can the Flip's obstacle avoidance system detect thin wires and cables?
The Flip's vision sensors reliably detect wires down to approximately 6mm diameter in good lighting conditions. However, very thin wires, fishing line, or cables against complex backgrounds may not register. When mapping venues with decorative string lights or utility lines, I recommend manual flight with reduced speeds and increased visual monitoring.
How does ActiveTrack 5.0 differ from previous versions for mapping applications?
ActiveTrack 5.0 introduces predictive subject modeling that anticipates movement patterns rather than simply following current position. For venue mapping, this means smoother tracking shots when following a subject through doorways, around corners, or across elevation changes. The system also maintains lock through brief occlusions up to 3 seconds—essential when subjects pass behind columns or vegetation.
What D-Log settings work best for high-altitude venue documentation?
I recommend D-Log M for most high-altitude mapping work. Set ISO to 100 when possible, allowing shutter speed to compensate for the intense mountain light. Use -0.7 EV exposure compensation to protect highlights—shadow recovery in D-Log is more forgiving than highlight recovery. For the color profile, maintain default settings and handle all grading in post-production for maximum flexibility.
Final Deliverables and Client Results
The three-day mapping project produced:
- 2,847 still images for orthomosaic generation
- 4.2 hours of video footage including Hyperlapse sequences
- Complete 3D venue model with 2.3cm ground resolution
- Weather variation documentation showing the venue in three distinct conditions
The resort reported a 34% increase in booking inquiries after implementing the new mapping content on their platform. Couples could now virtually explore every corner of the venue before committing to the destination wedding.
The Flip proved itself as a serious mapping tool despite its compact size. Its combination of obstacle avoidance reliability, D-Log flexibility, and weather resilience made it the right choice for this challenging environment.
Ready for your own Flip? Contact our team for expert consultation.