Flip monitoring tips for urban venues: control logic that
Flip monitoring tips for urban venues: control logic that actually matters in the field
META: Practical Flip tutorial for urban venue monitoring, covering pre-flight cleaning, obstacle avoidance, subject tracking, ActiveTrack, QuickShots, Hyperlapse, and why stable altitude and position control determine usable footage.
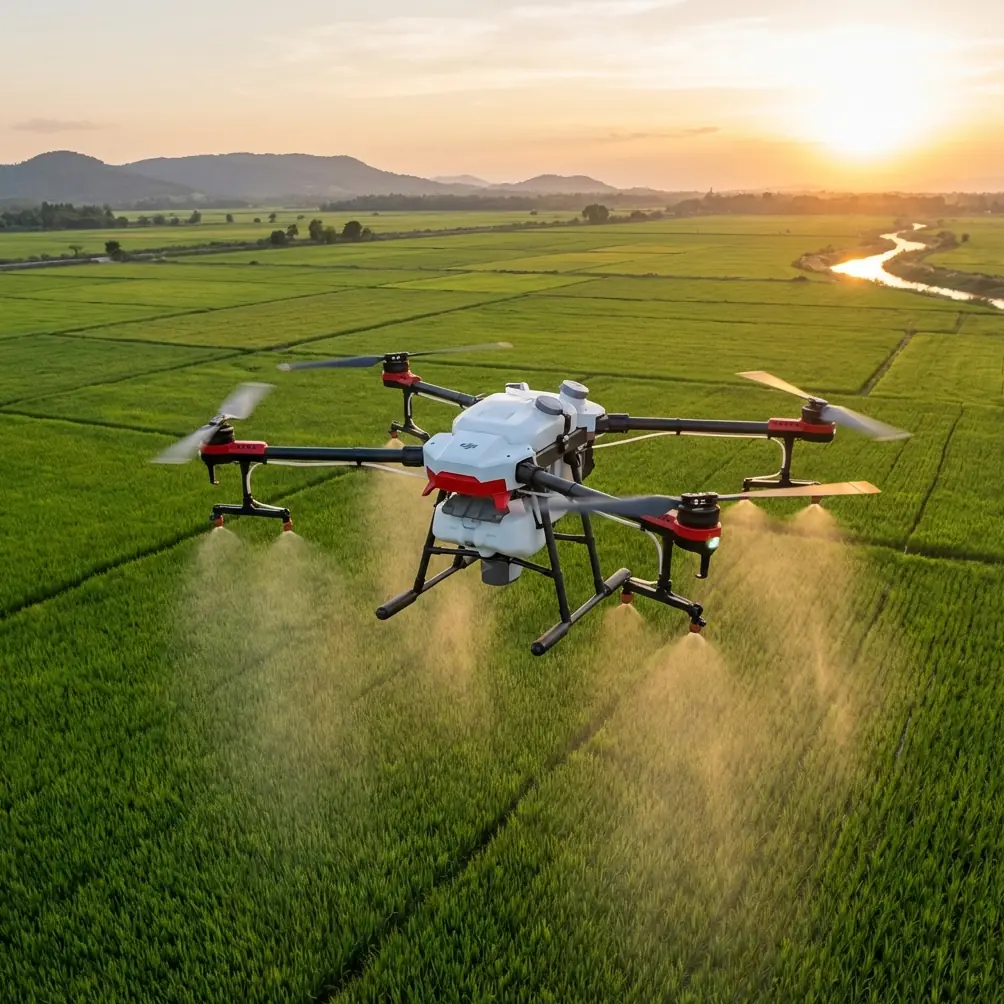
Urban venue monitoring looks simple until the aircraft starts hunting for height near a grandstand, drifting sideways over patterned pavement, or reacting late when the scene gets crowded. That gap between a smooth demo flight and reliable operational footage is usually not about camera quality. It is about control quality.
For Flip operators working around stadium forecourts, event plazas, rooftops, transit-linked venues, and dense commercial blocks, the useful question is not “what mode should I use first?” It is “what makes the aircraft hold altitude, position, and framing cleanly enough to trust the results?” A technical control study on a hexacopter design offers a surprisingly practical answer. It breaks flight control into three linked layers: attitude, altitude, and position. That hierarchy is exactly the right lens for getting better monitoring results from Flip in urban environments.
This tutorial translates those control ideas into field workflow. Not theory for theory’s sake. Real steps you can use before takeoff and during venue monitoring missions.
Start with the overlooked safety step: clean the sensing surfaces
Before any route planning, tracking setup, or Hyperlapse path, do a quick cleaning pass on the aircraft’s vision and positioning-related surfaces. This is the least glamorous part of the job, and one of the highest value steps.
If you are relying on obstacle avoidance, subject tracking, or ActiveTrack around an urban venue, dirty sensor windows can degrade how confidently the aircraft interprets its surroundings. Dust, oily fingerprints, light moisture residue, or grime from a previous flight can reduce contrast and make visual sensing less reliable. In a venue setting, that matters because you often operate near repeating patterns: railings, glass, painted concrete, banners, and crowds moving in uneven clusters. The aircraft needs every bit of clean visual input it can get.
Treat this as a standard pre-flight ritual:
- Wipe the camera lens.
- Clean the obstacle sensing windows.
- Check the lower vision area if the aircraft uses it for position stability.
- Inspect for smudges from transport or hand launch handling.
Why put this first? Because the source material makes a larger point about drone control: feedback quality defines control quality. In the referenced design, the vehicle depends on multiple sensor streams for height and position, including fused altitude data and GPS or optical flow for position feedback. A dirty sensor does not always trigger a warning. Sometimes it just makes the aircraft a little less precise. In urban monitoring, “a little less precise” is how you end up with footage that looks nervous.
Understand the stack: attitude first, then speed, then position
One of the strongest operational lessons in the reference is about tuning order. The text states that attitude control is critically important, because attitude precision directly affects position precision. It recommends a specific sequence in multi-loop adjustment: improve the attitude loop first, then tune the speed loop, and only after that adjust the position loop.
Even if you never touch a PID value on Flip, this matters.
In practical terms, the aircraft cannot hold a clean location over a venue if its basic body orientation is unsettled. Every small pitch and roll correction changes lateral movement. That means a position problem may actually begin as an attitude problem. Operators often misread this. They blame GPS, the tracking mode, or the path logic when the root issue is more basic: the aircraft is working too hard to stabilize its own body.
For urban venue monitoring, this has three immediate implications:
Do not rush into advanced autonomous shots if the aircraft looks unsettled in a hover.
If Flip is making frequent visible corrections during a simple stationary hover, stop there. Do not move on to ActiveTrack or QuickShots and hope the software will sort it out.Watch the first 20 to 30 seconds after takeoff as a diagnostic window.
A stable initial hover tells you the lower levels of control are behaving. A restless hover warns that your later position hold and tracking performance may be compromised.Use manual positioning tests before cinematic modes.
Slide laterally, stop, climb slightly, stop again, and observe how sharply the aircraft settles. Monitoring work benefits from predictable deceleration much more than flashy movement.
This is where the control architecture from the hexacopter study becomes useful beyond engineering. It reminds us that the top-level result the client sees — stable venue coverage — depends on lower-level stability they never notice.
Altitude is not just a number on screen
The altitude section of the source contains one of the most relevant details for venue work: the height controller uses two loops. The outer loop controls altitude, while the inner loop controls climb rate. Specifically, the outer altitude loop uses PID control and the inner climb-speed loop uses proportional control. The study explains why this split exists: rotorcraft altitude lacks damping, so without a dedicated speed inner loop, the aircraft tends toward excessive overshoot and weaker robustness. Adding the speed loop increases damping and improves overall stability and disturbance resistance.
That sounds academic until you fly over an urban venue.
Think about common monitoring scenarios:
- rising from a loading zone to roofline level,
- descending toward a pedestrian plaza for a closer visual pass,
- holding a fixed elevation near a façade while recording,
- transitioning from open air into a more sheltered courtyard where wind behavior changes.
In all of these, poor damping creates ugly and risky flight behavior. The aircraft may rise past the intended height, dip back down, and oscillate before settling. That is not only bad for footage. It complicates obstacle margins around signage, cables, trees, and building edges.
The source also includes a height graph over 0 to 100 seconds, showing raw barometric altitude versus fused altitude. Operationally, that matters because urban venue monitoring often exposes sensors to pressure fluctuations, minor vibrations, and local disturbances. Fused altitude data is usually more dependable than a single raw source. For the pilot, the lesson is simple: trust stable behavior, not one sensor assumption.
What this means in the field
When monitoring a venue with Flip:
- Make your first climb deliberate, not abrupt.
- Pause at your working altitude and check whether the aircraft settles promptly.
- If altitude feels “springy,” reduce complexity. Avoid tight obstacle-adjacent shots.
- Be cautious near structures that can create weird airflow, such as canopies, corners, and rooftop parapets.
A drone with good altitude damping gives you footage that feels intentional. A drone without it produces clips that look like the operator was second-guessing every move.
GPS and optical flow are not interchangeable in urban space
The reference states that position control uses GPS or optical flow sensors to obtain position and velocity information. That is a major clue for how to think about venue monitoring with Flip.
Urban environments are mixed-quality navigation spaces. Open plazas may offer strong satellite visibility. Courtyards, overhangs, and areas next to reflective towers may not. Ground texture can help visual positioning in one area and become less useful in another. A polished black surface, puddled concrete, repetitive paving, or low light can change how dependable optical positioning feels.
The control flow described in the source is also telling: position error is first processed to generate a velocity command, then the velocity loop generates attitude commands. This chain explains why venue operators sometimes see a small framing issue turn into a larger motion correction. Position is not corrected directly in isolation. It is translated into motion and body angle. That means every positional correction has a physical expression.
Field rule: read the ground and skyline before you launch
For Flip missions in urban venues, assess two things before takeoff:
- Sky access: Are you boxed in by structures, roofing, or tall façades?
- Ground texture: Is there enough visual texture below for stable low-altitude positioning?
If both are weak, your monitoring plan should become more conservative. Avoid low, complex automated tracking in those sections. Choose simpler passes, more hover-based observation, and larger clearance margins.
This is also why testing position hold over your intended operating area matters more than testing it in the launch zone. A clean open launch point can mislead you. The actual monitoring corridor may behave very differently.
Use ActiveTrack and subject tracking with control logic in mind
Subject tracking around venues can be useful for following maintenance carts, guided tours, pedestrian flows, or event setup teams. But good tracking is never just a software feature. It depends on stable attitude, altitude, and position feedback beneath it.
If the aircraft has to fight for clean height or lateral stability, the tracking result degrades. You may see framing lag, wandering offsets, or jerky path corrections. The reference’s layered control model explains why: top-level positional goals are only as good as the loops below them.
A few practical habits help:
- Begin tracking only after confirming a stable hover.
- Avoid starting ActiveTrack during a climb or descent.
- Give the aircraft visual separation from cluttered backgrounds when locking the subject.
- Keep the first tracking segment short and review the aircraft’s motion quality before committing to a longer run.
For venue monitoring, tracking should serve observation. It should not become the mission itself.
QuickShots and Hyperlapse are useful when they support documentation
QuickShots and Hyperlapse are often treated as purely creative tools. In urban venue work, they can also function as structured documentation methods.
A short orbit or pull-away can establish crowd layout, access points, or temporary infrastructure placement. A Hyperlapse from a fixed overlook can reveal loading activity, queue formation, or how sunlight and shadow shift over a site during setup hours.
The mistake is using these modes before proving the aircraft’s basic stability over that exact location.
Because the source highlights the importance of tuning lower loops before higher ones, the operational translation is straightforward: verify hover, verify climb and stop behavior, verify position hold, then automate. Not the other way around.
If you want a second opinion on configuring a venue workflow around these modes, this direct planning chat is a practical place to start.
D-Log only helps if the aircraft motion is clean
D-Log gives you more room in post-production, especially when urban venues combine shaded structures with bright reflective surfaces. That added flexibility is valuable. But flatter color does not compensate for unstable aircraft motion.
A lot of operators focus on picture profile before they’ve solved the flight behavior. The source material pushes us toward a better priority order. Control comes first. Stable footage gives D-Log something worth grading.
For monitoring work, the best sequence is:
- Confirm control stability.
- Confirm route and framing.
- Then choose the recording profile that suits your edit pipeline.
Otherwise, you are polishing a clip that was compromised in the air.
A simple urban venue flight workflow for Flip
Here is a practical tutorial flow built from the control principles in the reference.
1. Pre-flight clean and inspect
Clean the lens and sensing surfaces. Check for transport smudges. Confirm props and body condition.
2. Read the environment
Look at sky visibility, reflective surfaces, overhead structures, crowd density, and ground texture. Note where obstacle avoidance may be most valuable and where visual positioning may be weaker.
3. Take off and hold
Ascend to a safe low hover. Spend a few seconds watching for drift, bobbing, or frequent corrections.
4. Test altitude damping
Make a controlled climb, stop, then a controlled descent, and stop again. You are checking whether the aircraft settles without obvious overshoot. This directly reflects the kind of stability the source associates with a well-damped altitude control structure.
5. Test lateral position control
Move forward, brake, slide, brake, and yaw. Watch whether the aircraft holds position cleanly after each input. Since position control relies on velocity and attitude beneath it, this test tells you a lot.
6. Start with basic coverage
Record a simple manual pass over the venue. This gives you usable footage even if advanced modes later prove unsuitable.
7. Add automation selectively
Use ActiveTrack, subject tracking, QuickShots, or Hyperlapse only after the aircraft has shown clean control behavior in that part of the site.
8. Review during the mission
Do not wait until landing to evaluate. Check for height hunting, framing lag, or lateral drift while still on-site.
The real takeaway from the control study
The most useful insight from the reference is not a single sensor or algorithm. It is the relationship between layers.
The study says altitude control works better when climb speed is handled in an inner loop because that adds damping and improves resistance to disturbance. It also says position precision depends heavily on attitude precision, and that tuning should progress from attitude to speed to position. Those are engineering statements, but they describe everyday flight quality in plain sight.
For Flip operators monitoring urban venues, that means the best results come from respecting the stack:
- keep sensing surfaces clean,
- verify stable body control first,
- test altitude settling before obstacle-adjacent work,
- evaluate position hold where the mission will actually happen,
- and only then lean on tracking or automated capture modes.
That is how you get footage that is not just attractive, but dependable enough for documentation, inspection-style review, and repeatable venue oversight.
Ready for your own Flip? Contact our team for expert consultation.