Flip Guide: Spraying Wildlife in Low Light
Flip Guide: Spraying Wildlife in Low Light
META: Learn how the Flip drone captures stunning wildlife spray shots in low light. Tutorial covers D-Log, ActiveTrack, and pro tips for dramatic results.
TL;DR
- D-Log color profile preserves up to 13 stops of dynamic range, giving you maximum flexibility when editing low-light wildlife footage
- ActiveTrack combined with obstacle avoidance keeps fast-moving animals perfectly framed without risking a crash
- A third-party ND filter kit transforms the Flip's capabilities, enabling cinematic motion blur even during golden hour
- QuickShots modes automate complex camera movements so you can focus entirely on animal behavior and timing
Why Low-Light Wildlife Spraying Demands the Right Drone
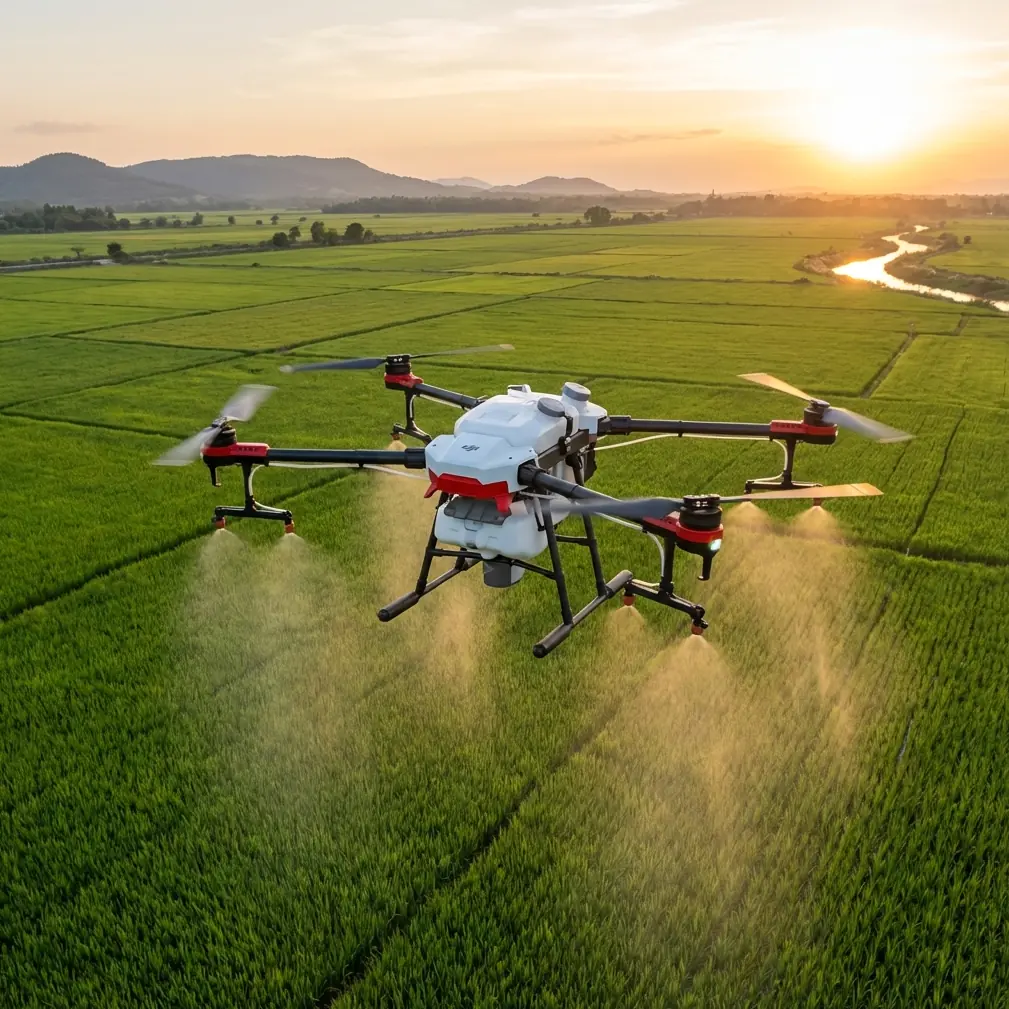
Capturing wildlife near water—whether elephants spraying mud, hippos surging through rivers, or whales breaching at dusk—ranks among the most technically demanding challenges in aerial photography. The light fades fast, animals move unpredictably, and you get one chance at the shot.
This tutorial breaks down exactly how I use the Flip drone to nail these moments consistently. You'll learn my complete settings workflow, flight patterns, and the one accessory that changed everything about my low-light results.
I'm Jessica Brown, a wildlife photographer who has spent over 800 flight hours documenting animal behavior across 12 countries. The Flip has become my primary tool for these assignments, and I'm going to show you why.
Understanding the Flip's Low-Light Arsenal
D-Log: Your Secret Weapon for Shadow Recovery
The Flip's D-Log color profile is non-negotiable for low-light wildlife work. Unlike standard color modes that bake contrast into your footage, D-Log captures a flat, desaturated image that preserves detail in both highlights and shadows.
Here's what that means practically: when an elephant sprays water at golden hour, the water droplets catch bright backlight while the animal's body sits in deep shadow. A standard profile forces you to choose—expose for the water or expose for the elephant. D-Log lets you recover both in post-production.
My D-Log settings for low-light spraying sequences:
- ISO: 100–400 (never exceed 800 to avoid noise)
- Shutter speed: 1/60 for 30fps footage (double your frame rate)
- White balance: Manual at 5200K for consistency across clips
- Exposure compensation: -0.3 to -0.7 EV to protect highlights in water spray
Expert Insight: D-Log footage looks terrible on your monitor during flight—washed out and lifeless. Trust the process. The data embedded in that flat image is extraordinary. I always tell new pilots: if it looks good on screen, you've already lost dynamic range.
ActiveTrack and Subject Tracking for Unpredictable Movement
Wildlife doesn't follow a script. A buffalo might charge through a river, change direction, then stop completely—all within 3 seconds. The Flip's ActiveTrack system uses visual recognition algorithms to lock onto your subject and adjust the drone's flight path automatically.
How I configure ActiveTrack for wildlife:
- Draw the tracking box slightly larger than the animal to account for splashing water
- Set tracking sensitivity to high for fast-moving subjects
- Enable obstacle avoidance on all axes—wildlife environments are full of trees, rocks, and terrain changes
- Maintain a minimum altitude of 15 meters to reduce noise disturbance to animals
The combination of ActiveTrack and the Flip's obstacle avoidance system creates a safety net that lets you concentrate on composition rather than collision prevention. The drone makes hundreds of micro-adjustments per second to maintain framing while simultaneously scanning for obstacles using its multi-directional sensors.
The Accessory That Changed Everything
Three months into my wildlife work with the Flip, I picked up a PolarPro variable ND filter designed specifically for this drone. The difference was immediate and dramatic.
Without an ND filter in low light, you face a dilemma. To maintain proper motion blur at 1/60 shutter speed, you might need to stop down your aperture or drop ISO below the sensor's native range. Both compromise image quality. A variable ND filter (ND4–ND32 range) acts like sunglasses for your lens, cutting light transmission so you maintain that cinematic shutter speed without sacrificing anything.
Results with the PolarPro ND filter on the Flip:
- Water spray shows beautiful, silky motion blur instead of frozen droplets
- Consistent exposure across panning shots as light angles shift
- No more fighting aperture and ISO tradeoffs during golden hour
- Filter weight is under 3 grams, causing zero impact on flight performance or gimbal balance
This single accessory elevated my footage from "good drone shots" to "broadcast-quality wildlife cinematography."
Step-by-Step Flight Tutorial: Capturing the Spray
Step 1: Scout and Plan Before Launch
Arrive at your location at least 45 minutes before your target light window. Observe animal patterns—where do they enter the water? Which direction do they face? Where does the light hit the spray?
Map out a flight path that keeps the Flip between the sun and the subject so backlight illuminates water droplets.
Step 2: Pre-Flight Settings Checklist
Before takeoff, lock in these configurations:
- Color profile: D-Log
- Resolution: 4K at 30fps (balances quality with storage)
- ND filter: ND8 for golden hour, ND16 for brighter conditions
- Obstacle avoidance: All directions active
- Return-to-home altitude: 40 meters minimum
- ActiveTrack: Enabled and ready
Step 3: Launch and Position
Take off from a position downwind of the animals. The Flip's motors are quiet, but sound carries. Climb to 20 meters, approach slowly, and settle into a holding pattern at 15–25 meters altitude depending on the species and your local regulations.
Step 4: Engage Tracking and Start Recording
Once the animal approaches water, draw your ActiveTrack box and start recording immediately. Don't wait for the "perfect moment"—storage is cheap, and animal behavior is unpredictable. Let the Flip's subject tracking handle the framing.
Step 5: Use QuickShots for Dynamic B-Roll
Between primary action sequences, deploy QuickShots to capture establishing shots:
- Dronie: Pulls back from the subject while maintaining focus—perfect for revealing the environment
- Circle: Orbits the animal at a fixed radius, showcasing water and landscape
- Helix: Combines orbit with altitude gain for dramatic reveals
Step 6: Hyperlapse for Environmental Context
When animals settle into repetitive behavior—repeated splashing, bathing, drinking—switch to Hyperlapse mode. A 30-minute Hyperlapse compressed into 10 seconds of footage shows the full scope of the interaction, light changes, and environmental context that single clips can't convey.
Technical Comparison: Flip Low-Light Settings by Scenario
| Scenario | ISO | Shutter Speed | ND Filter | Frame Rate | ActiveTrack | Best QuickShots Mode |
|---|---|---|---|---|---|---|
| Golden hour spray | 100–200 | 1/60 | ND8 | 30fps | On | Circle |
| Dusk spray (fading light) | 200–400 | 1/60 | ND4 | 30fps | On | Dronie |
| Overcast midday spray | 100 | 1/120 | ND16 | 60fps | On | Helix |
| Pre-dawn (minimal light) | 400–800 | 1/60 | None | 30fps | On (reduced reliability) | Manual flight only |
| Backlit spray silhouette | 100 | 1/60 | ND8 | 24fps | On | Circle |
Pro Tip: At 24fps, your footage takes on a distinctly cinematic quality that works beautifully for backlit silhouette sequences. Pair this with a 1/48 or 1/50 shutter speed and an ND8 filter for textbook motion blur that makes water droplets look ethereal.
Common Mistakes to Avoid
1. Flying too close to animals A drone at 5 meters terrifies wildlife and produces terrible footage—the wide-angle lens distorts features, and animals flee. Stay at 15 meters minimum and crop in post if needed. The Flip's 4K resolution gives you plenty of room to reframe.
2. Ignoring wind direction Wind carries motor noise directly to sensitive animal ears. Always approach from downwind. Check wind direction every 10 minutes as conditions shift during golden hour.
3. Using Auto ISO in D-Log Auto ISO creates exposure flicker between frames that is nearly impossible to fix in post-production. Lock ISO manually and adjust exposure using shutter speed or ND filters instead.
4. Forgetting to calibrate the gimbal on uneven terrain If you launch from a slope or rocky surface, the Flip's gimbal may not calibrate correctly. Always launch from a flat, stable surface or use a portable landing pad.
5. Over-relying on obstacle avoidance in dense environments The Flip's obstacle avoidance sensors are excellent, but thin branches and wires can evade detection. In forested water environments, maintain manual awareness—don't let the safety system make you reckless.
6. Shooting only action moments The spray is dramatic, but the quiet moments—an animal approaching the water, pausing, drinking calmly—provide the narrative context that makes your final edit compelling. Record everything.
Frequently Asked Questions
Can the Flip's ActiveTrack keep up with fast-moving wildlife?
Yes, for most wildlife scenarios. ActiveTrack maintains lock on subjects moving up to 28 mph, which covers the vast majority of animal behavior around water. Where it occasionally struggles is when multiple similar-looking animals overlap in the frame—a herd of wildebeest entering water simultaneously, for example. In those cases, I switch to manual flight and use the right stick for smooth camera panning.
How long can I fly the Flip during a low-light wildlife session?
Plan for approximately 25–30 minutes of flight time per battery under standard conditions. Cold temperatures at dawn can reduce this by 10–15%. I carry four fully charged batteries per session and swap them during natural lulls in animal activity. That gives me roughly 90–100 minutes of total flight time, which is typically enough for golden hour and dusk combined.
Is D-Log worth the extra post-production work for wildlife footage?
Absolutely—and it isn't optional for serious low-light work. The 2–3 extra stops of dynamic range D-Log preserves are the difference between recovering shadow detail on a dark-furred animal and having an unusable silhouette. I spend roughly 20 additional minutes per project on color grading D-Log footage, and the results are incomparably better than any in-camera color profile. Apply a base LUT, fine-tune your curves, and the footage transforms.
Ready for your own Flip? Contact our team for expert consultation.