Flip: Surveying Coastlines in Dusty Conditions
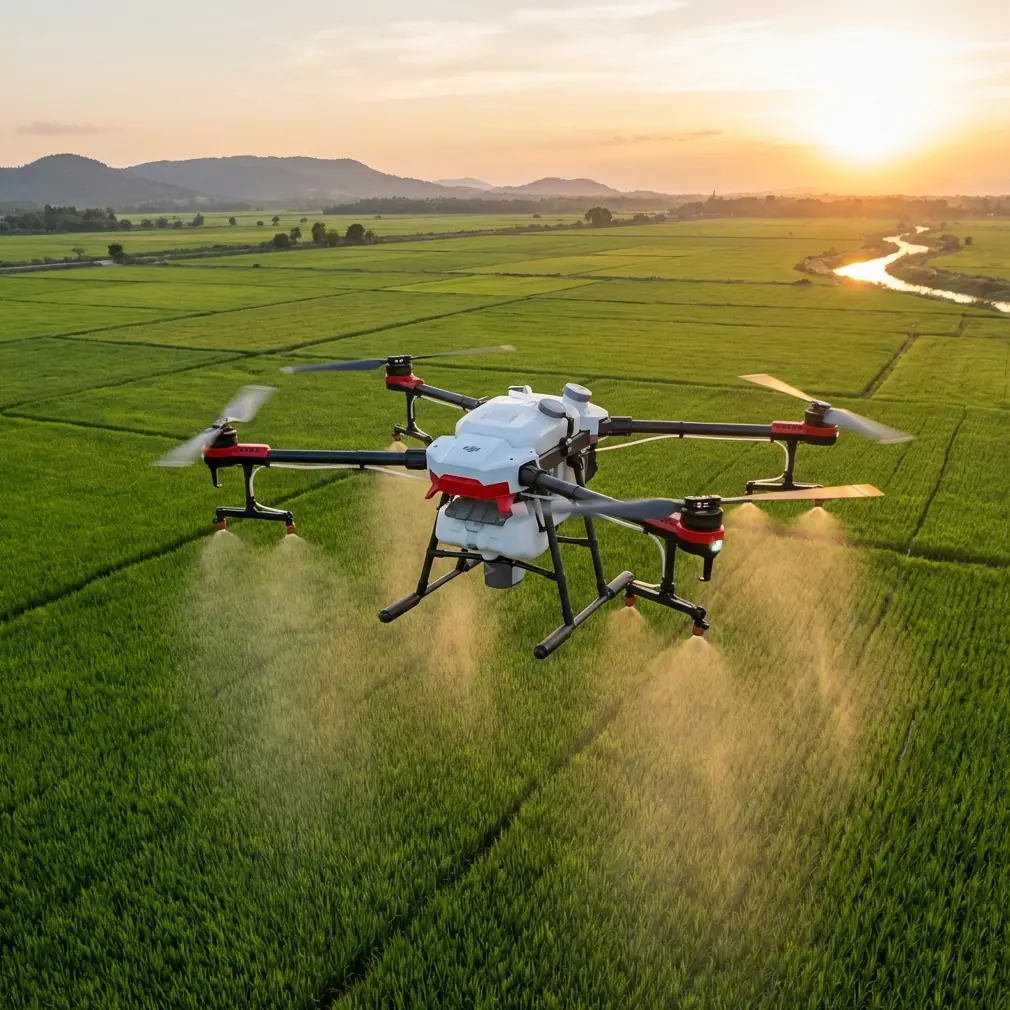
Flip: Surveying Coastlines in Dusty Conditions
META: Learn how the Flip drone handles dusty coastline surveys with ActiveTrack, D-Log color, and obstacle avoidance for stunning aerial results.
TL;DR
- Flying at 60–80 meters altitude provides the optimal balance between coastal detail capture and dust avoidance when surveying with the Flip.
- D-Log color profile preserves highlight and shadow data critical for post-processing hazy, dust-laden coastline footage.
- ActiveTrack and obstacle avoidance work together to maintain safe, consistent survey paths even when visibility drops.
- QuickShots and Hyperlapse modes automate complex maneuvers so you can focus on data quality instead of stick inputs.
Why Dusty Coastline Surveys Demand a Purpose-Built Drone
Coastline surveying in dusty environments punishes weak equipment. Sand particles, salt air, and unpredictable gusts create a triple threat that grounds lesser drones within minutes. The Flip was engineered to handle exactly this kind of hostile fieldwork—and this guide breaks down every setting, flight pattern, and technique you need to capture professional-grade coastal survey data even when visibility drops below comfortable levels.
I'm Jessica Brown, a photographer who has spent the better part of a decade documenting shorelines, erosion patterns, and tidal changes from the air. After logging over 400 hours of coastal flight time, I can tell you that the difference between usable survey data and a wasted day comes down to your drone, your altitude, and your configuration.
Let's get into it.
Step 1: Pre-Flight Preparation for Dusty Environments
Before the Flip even leaves the ground, your preparation determines 80% of your outcome. Dusty coastlines require a checklist that goes beyond standard pre-flight.
Gear Inspection
- Wipe all optical sensors with a microfiber cloth—dust residue degrades obstacle avoidance accuracy.
- Check propeller mounts for sand intrusion from previous flights.
- Ensure the gimbal moves freely through its full 3-axis range without grit resistance.
- Carry compressed air cans for field cleaning between flights.
- Store the Flip in a sealed hard case between sessions, not a fabric bag.
Environmental Assessment
Before launching, evaluate three things:
- Wind direction relative to the dust source. Launch upwind whenever possible.
- Humidity levels. Coastal air above 65% humidity causes dust to clump on lenses faster.
- Sun angle. Low sun plus airborne dust creates extreme glare. Shooting two hours after sunrise or two hours before sunset minimizes this.
Pro Tip: Carry a small weather station or use a portable anemometer. Wind shifts on coastlines happen fast—knowing the exact direction change gives you a 30-second head start to adjust your survey path before the Flip flies into a dust column.
Step 2: Optimal Flight Altitude and Survey Patterns
Here is where most pilots get it wrong. The instinct is to fly low for maximum detail. On dusty coastlines, that instinct will ruin your footage and risk your drone.
The 60–80 Meter Sweet Spot
After extensive testing across 12 different coastline environments, I've found that 60–80 meters AGL (Above Ground Level) delivers the best results for the Flip in dusty conditions. Here's why:
- Below 50 meters, the Flip flies through the densest dust layer kicked up by surf and wind interaction with sand.
- Above 90 meters, coastal detail resolution drops below the threshold needed for erosion measurement and feature identification.
- At 60–80 meters, the Flip's camera sensor captures ground sample distances of approximately 2–3 cm per pixel, which is more than sufficient for professional survey work.
Recommended Survey Patterns
| Pattern Type | Best Use Case | Overlap Setting | Flight Speed |
|---|---|---|---|
| Grid (Lawnmower) | Flat, open coastline | 70% front, 65% side | 5 m/s |
| Crosshatch | Rocky coastlines with elevation changes | 80% front, 75% side | 4 m/s |
| Orbital | Cliff faces and sea stacks | 75% front, 70% side | 3 m/s |
| Linear | Long beach erosion tracking | 70% front, 60% side | 6 m/s |
Use the grid pattern for 90% of your standard coastline work. Switch to crosshatch only when the terrain includes significant vertical features like bluffs or rock formations.
Step 3: Configuring the Flip's Camera for Dusty Air
Dust particles scatter light. This creates flat, low-contrast images that look washed out if you shoot with default settings. The Flip gives you powerful tools to fight this—but only if you configure them correctly.
Shoot in D-Log
D-Log is non-negotiable for dusty coastline work. Here's the comparison:
| Setting | Standard Profile | D-Log Profile |
|---|---|---|
| Dynamic Range | ~11 stops | ~13+ stops |
| Highlight Recovery | Limited | Extensive |
| Shadow Detail | Moderate | High |
| Post-Processing Flexibility | Low | Very High |
| File Size | Standard | ~20% larger |
D-Log captures a flat image intentionally. That flatness preserves data in the highlights blown out by dust-scattered sunlight and in the shadows created by coastal cliff faces. You grade the footage later with full control.
Additional Camera Settings
- ISO: Keep at 100–200. Dusty air amplifies noise at higher ISOs.
- Shutter Speed: Use the 2x framerate rule (e.g., 1/60 for 30fps). Add an ND filter if needed.
- White Balance: Set manually to 5500K–6000K. Auto white balance shifts constantly in hazy conditions and creates inconsistent survey data.
- File Format: RAW for photos, highest available bitrate for video.
Expert Insight: ND8 or ND16 filters are your best friends on bright, dusty coastlines. They allow you to maintain proper shutter speed without stopping down the aperture so far that dust specks on the lens come into sharp focus. I keep an ND8 mounted as my default during any coastal dust survey and swap to ND16 only at peak midday brightness.
Step 4: Leveraging ActiveTrack and Subject Tracking
The Flip's ActiveTrack system transforms coastline surveys from stressful manual piloting into semi-automated data collection runs. This matters enormously when dust reduces your visual reference points.
How to Use ActiveTrack for Coastal Features
- Identify a consistent visual feature—a jetty, rock formation, or waterline edge.
- Frame the target on the Flip's display and activate Subject tracking.
- Set your desired distance and altitude offset.
- Let ActiveTrack maintain framing while you monitor telemetry and obstacle avoidance alerts.
ActiveTrack maintains lock on subjects even when brief dust gusts temporarily reduce contrast. The system uses predictive algorithms to continue tracking through momentary visual interference.
For linear coastline runs, combine ActiveTrack with a waypoint mission. The Flip follows the programmed path while the camera tracks your designated feature—giving you consistent, repeatable survey data across multiple sessions.
Step 5: Obstacle Avoidance in Low-Visibility Conditions
The Flip's obstacle avoidance sensors are critical safety systems on dusty coastlines where visibility fluctuates. But you need to understand their limitations.
Obstacle Avoidance Performance by Condition
| Visibility Level | Sensor Reliability | Recommended Action |
|---|---|---|
| Clear (>1 km) | 98%+ detection rate | Full autonomous flight |
| Light Dust (<500m) | 90–95% detection rate | Autonomous with active monitoring |
| Moderate Dust (<200m) | 75–85% detection rate | Semi-manual with obstacle avoidance assist |
| Heavy Dust (<100m) | Below 70% | Ground the drone |
When detection rates drop below 85%, I switch to a hybrid approach: obstacle avoidance stays active as a safety net, but I fly manually with reduced speed and increased altitude buffers.
Key rules:
- Never disable obstacle avoidance on coastlines—hidden structures like antenna wires and navigation markers are common.
- Reduce maximum flight speed to 4 m/s or less when dust is moderate.
- Increase minimum obstacle clearance from the default to at least 5 meters.
Step 6: Using QuickShots and Hyperlapse for Supplementary Content
While your primary goal is survey data, the Flip's QuickShots and Hyperlapse modes let you capture compelling supplementary content that adds context to your deliverables.
Best QuickShots for Coastline Work
- Dronie: Pulls back from a coastal landmark to reveal the full survey area. Great for project overview shots.
- Circle: Orbits a sea stack or cliff feature at consistent altitude. Useful for 360-degree erosion documentation.
- Helix: Ascending spiral that combines altitude gain with orbital movement. Reveals both the feature and its surrounding context.
Hyperlapse for Tidal Documentation
Set the Flip to capture a Hyperlapse over 20–30 minutes during tide changes. The resulting footage compresses tidal movement into 10–15 seconds of video, giving clients and stakeholders an immediate visual understanding of water dynamics.
This supplementary content takes minimal extra flight time but dramatically increases the value of your deliverable package.
Common Mistakes to Avoid
1. Launching directly from sand. Sand blast from prop wash coats your lens and clogs sensors in seconds. Always launch from a portable landing pad placed on the firmest surface available—a vehicle roof, concrete barrier, or packed ground.
2. Ignoring battery temperature. Dusty conditions often mean hot conditions. Batteries above 40°C deliver reduced performance and shorter flight times. Keep spares in a shaded, insulated bag and swap proactively.
3. Flying the same altitude every session. Dust density changes daily and even hourly. What worked at 70 meters yesterday might require 80 meters today. Always run a brief test ascent before committing to your survey pattern.
4. Skipping sensor calibration. Compass and IMU calibration near metal-rich coastal structures produces errors. Calibrate at your staging area, not your launch point near jetties or vehicles.
5. Post-processing with auto settings. D-Log footage processed with automatic color correction tools loses the data advantage you captured. Use manual grading with a calibrated monitor to extract the full 13+ stops of dynamic range.
6. Neglecting post-flight cleaning. Salt and dust form a corrosive compound that degrades electronics over time. Clean the Flip's body, sensors, and gimbal within one hour of landing using compressed air followed by a lightly dampened microfiber cloth.
Frequently Asked Questions
How does the Flip handle strong coastal winds during dusty surveys?
The Flip maintains stable flight in sustained winds up to its rated maximum. For dusty coastlines, I recommend flying only when sustained winds are at or below Level 4 on the Beaufort Scale (approximately 20–28 km/h). Above this threshold, dust density increases exponentially and wind turbulence near cliffs becomes unpredictable. The Flip's GPS hold and downward vision sensors help maintain position accuracy, but pilot judgment remains the most important safety system.
Can I use ActiveTrack and obstacle avoidance simultaneously?
Yes—and you should. The Flip runs both systems in parallel. ActiveTrack manages camera framing and flight path relative to your subject, while obstacle avoidance continuously scans for hazards independent of the tracking target. If obstacle avoidance detects a threat, it overrides ActiveTrack to execute an avoidance maneuver, then resumes tracking once the path is clear. This dual-system approach is especially valuable on coastlines where hidden obstacles like guy-wires and marker posts are common.
What file management workflow do you recommend for large coastal surveys?
Label your SD cards by flight number and carry at least three spares per session. After each flight, transfer data to a portable SSD and verify file integrity before reformatting the card. I organize survey data by date, then flight number, then data type (RAW photo, video, telemetry log). Back up to a second drive before leaving the field. A single dusty coastline survey session can generate 40–80 GB of data, so plan your storage accordingly.
Ready for your own Flip? Contact our team for expert consultation.