Flip Field Report: Camera Settings That Matter When
Flip Field Report: Camera Settings That Matter When Surveying High-Altitude Construction Sites
META: Expert field report on using Flip for high-altitude construction site surveying, with practical camera workflow tips drawn from burst, time lapse, night lapse, spot metering, and range-focused field setup.
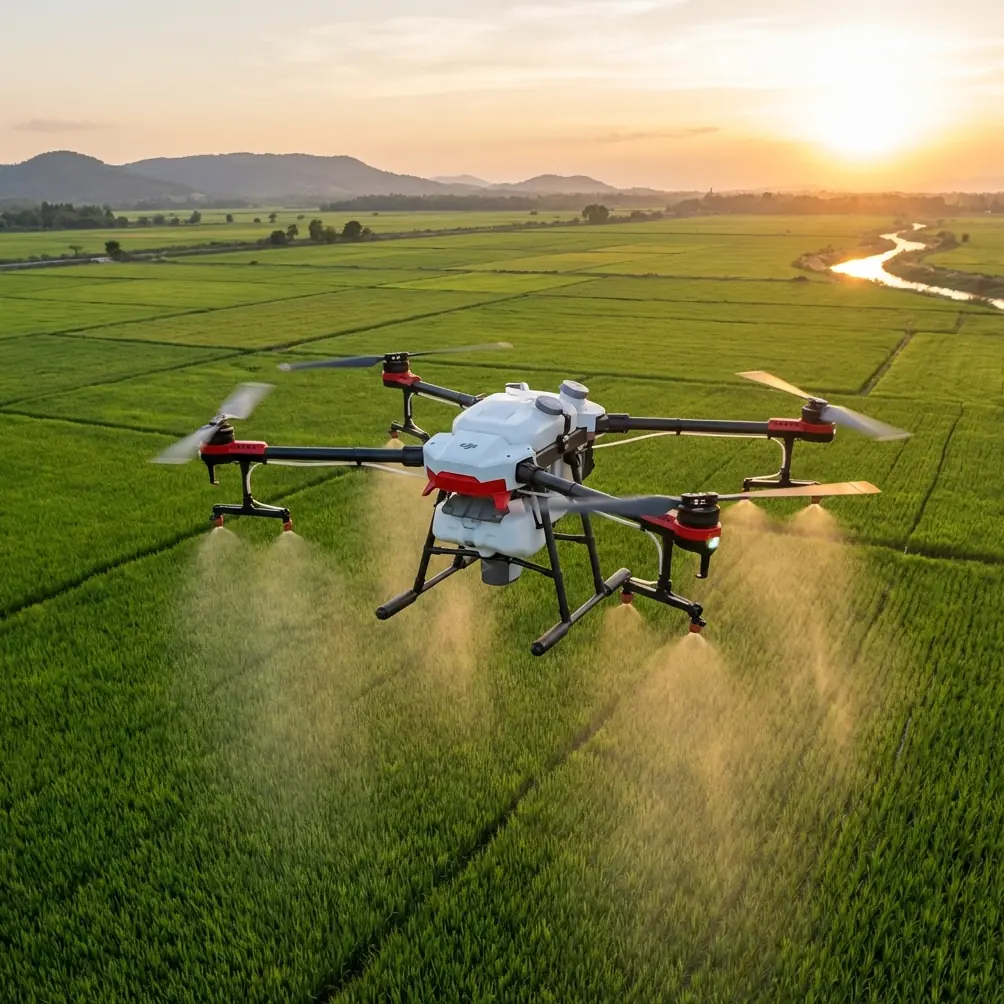
High-altitude construction surveying punishes lazy camera setup.
Wind changes the aircraft attitude. Bright cloud cover blows out rooftop detail. Deep shadows around elevator cores and facade recesses trick auto exposure. If you are flying Flip over a tower project, a bridge segment, or a mountain-edge build site, the aircraft is only half the story. The camera behavior decides whether your sortie produces usable documentation or a folder full of compromised images.
One detail from the reference material stands out because it solves a very real site problem: spot metering can be used when you are aiming from a darker area into a much brighter scene, like shooting from inside a vehicle toward the outdoors. On paper, that sounds like a simple camera note. In practice, it maps directly to construction survey work at elevation.
Think about the environments where Flip often gets launched or repositioned during a site inspection. You may begin from a shaded staging zone, a temporary materials shelter, the shadow side of a rooftop structure, or beside dark cladding that dominates the frame during setup. Then the aircraft yaws toward a bright skyline, reflective glazing, or sunlit concrete deck. Without an intentional metering choice, the camera can read the scene poorly and force you to sacrifice detail where you actually need it most.
That is why this setting deserves more attention than it usually gets.
Why spot metering matters over tall builds
On a high-rise survey, contrast is rarely balanced. The top slab may be in hard sun while the north face remains dim. The parapet could be dark, with the horizon behind it several stops brighter. If you are documenting edge conditions, anchor points, facade interfaces, or rooftop equipment pads, exposure errors quickly become operational problems. You are no longer just making footage look better. You are trying to preserve evidence.
The manual’s example of shooting from a dark space into a bright one is operationally significant because it mirrors a common survey pattern: the camera starts with dark foreground influence but the subject of interest is in a bright zone. Spot metering helps the operator bias exposure toward the intended target rather than letting the overall frame average everything into mediocrity.
For Flip pilots surveying construction sites, this becomes especially useful in three situations:
Rooftop transition passes
You lift from a shaded mechanical bay and pitch forward into open sky. If the camera meters broadly, the dark launch environment can distort the reading just as you begin your documentation run.Facade inspection against reflective backgrounds
Glass, metal panel systems, and pale concrete can fool general metering. Spot-based exposure decisions help retain the inspection subject rather than the brightest distraction in frame.Interior-to-exterior threshold documentation
Atrium edges, loading openings, parking deck cutouts, and incomplete envelope sections often create severe contrast. The manual’s darker-to-brighter shooting example is almost a direct match.
There is another reference detail with real workflow implications: changes made to Spot Meter in Photo mode apply only to photo capture. They do not automatically carry into video or into multi-shot capture modes. That may sound minor until you realize how many drone operators assume one camera tweak is global.
It is not.
The mistake that costs repeat flights
A lot of site teams mix stills and motion in one mission. They may capture reference photos for progress records, then roll short video clips for stakeholder review, then run interval captures to document sequencing or equipment movement.
The reference makes clear that Photo mode settings stay in Photo mode, and that video or multi-shot behavior must be adjusted within their own respective modes. Operationally, this matters because a pilot can correctly dial in spot metering for still imagery, switch to video, and unknowingly lose the intended exposure behavior.
At altitude, with limited battery and changing weather, that kind of oversight can force a second flight.
My recommendation for Flip survey work is simple: build a pre-launch mode check that treats each capture type as its own camera environment. Before takeoff, confirm:
- Photo mode exposure behavior
- Video mode exposure behavior
- Multi-shot mode exposure behavior
Do not assume continuity just because the subject or route remains the same.
This also pairs naturally with D-Log thinking for teams that grade imagery later, but the key principle is broader than color profile choice. The point is discipline. Construction documentation rewards repeatable settings more than improvisation.
The three multi-shot modes and when they actually help
The manual identifies three available capture modes in Multi-Shot: Burst, Time Lapse, and Night Lapse. For a construction survey team, these are not interchangeable extras. They solve different evidence-collection problems.
Burst for moment-specific detail
Burst captures photos at a defined rate. That matters when the aircraft is holding position in gusts, when a suspended load is moving in the background, or when you need the cleanest frame of a narrow subject such as:
- a mast tie connection
- a curtain wall interface
- a rooftop safety barrier
- crane-jib clearance context from a safe observation line
In high-altitude conditions, even a stable platform can experience micro-movements. Burst gives you multiple frames from the same short window so you can choose the sharpest result later. For surveying, that means a better chance of preserving edge detail without asking the pilot to repeat a pass.
The manual also notes a practical interface cue: if the Burst icon does not appear in the top-left of the touch display, swipe left, tap Photo, then tap Burst. That matters in the field because missed mode confirmation is common when crews are working quickly between batteries. On a noisy site, with spotters calling conditions and project staff waiting for outputs, visual confirmation beats assumption every time.
Time Lapse for progress logic
Time Lapse is not just for dramatic skyline reels. Used properly, it becomes a documentation tool.
On high-altitude projects, Time Lapse can record:
- rebar placement over a deck pour setup period
- facade panel staging evolution
- crane swing patterns relative to site logistics
- cloud shadow movement across a survey area, which can explain exposure inconsistency in later image review
Since the mode captures at a defined time interval, it is useful when you need a structured visual record rather than one-off stills. For Flip operators, this can complement waypoint-based repetition and make weekly or daily comparisons easier.
Night Lapse for low-light site states
The third mode, Night Lapse, captures at set intervals in low-light conditions. For civilian construction work, that opens up legitimate use cases that many teams overlook:
- pre-dawn concrete pour preparation
- lighting verification on rooftop equipment areas
- dawn transition documentation before crews occupy a zone
- low-light weather event monitoring around unfinished envelope sections
The significance is not just that the mode exists. It is that it is intentionally separated from standard interval shooting. Low-light construction documentation behaves differently, and the manual reflects that by giving Night Lapse its own lane.
BUSY means workflow, not failure
Another small but meaningful detail from the source: after a burst sequence, the camera may display BUSY while it processes files, and the operator should wait until that message disappears before the next action.
For survey teams, this has direct operational value. If a pilot fires a burst at a critical moment and immediately repositions or changes mode without allowing the system to finish, that can interrupt rhythm and increase the chance of missing the next required capture. On high-altitude missions, where wind windows are short and signal quality can shift near concrete and steel massing, respecting file-processing pauses is part of efficient flight planning.
This is also where good crew communication helps. If your visual observer knows the aircraft is in a short processing cycle, they can pause nonessential calls and let the pilot complete the imaging sequence cleanly.
Antenna positioning advice for maximum range on tall sites
Since range reliability was part of the brief, here is the practical version I give crews.
When surveying tall construction sites, poor antenna discipline causes more signal problems than distance alone. Operators fixate on horizontal range, but urban and mountain-edge projects often create vertical geometry issues. The aircraft may be above, offset, or partially screened by structural mass.
For the strongest link with Flip:
- Keep the controller antennas oriented broadside to the aircraft, not pointed like a spear at it.
- Reposition your body so the controller face maintains a cleaner line to the drone as it climbs.
- Avoid standing directly behind dense rebar cages, temporary steel stacks, site containers, or rooftop plant that can block or scatter signal.
- If you need to inspect the far side of a tower, move your takeoff or pilot position before the flight rather than trying to force connection through the structure.
- On stepped terrain or mountain-edge construction, gain a little elevation at the pilot position when legal and safe, because terrain shoulder blockage can matter more than pure distance.
The biggest lesson: line of sight is not a checkbox; it is a signal strategy. A high-rise under construction is a giant RF obstacle field. Treat it that way.
If your team is building a more repeatable site workflow, you can share your operating scenario directly through this WhatsApp channel for field setup questions.
A practical Flip workflow for high-altitude survey flights
Here is the field sequence I would use based on the camera behavior in the reference material.
1. Define the deliverable before launch
Are you collecting stills for reports, interval imagery for progress comparison, or low-light records? Choose Photo, Burst, Time Lapse, or Night Lapse before takeoff based on the actual output needed.
2. Match metering to the real scene
If your subject sits in a bright environment while nearby dark elements dominate the frame, use spot metering logic intentionally. The manual’s dark-to-bright shooting example is exactly the kind of contrast trap common on elevated job sites.
3. Verify mode-specific settings
This is non-negotiable. A Spot Meter change in Photo mode only affects photos. If you switch to video or multi-shot capture, check the exposure behavior again inside that mode.
4. Confirm Burst visually on screen
If you need Burst, do not rely on memory. The manual specifically points to the Burst icon on the upper-left portion of the touch display. If it is missing, swipe left, tap Photo, then tap Burst. That short check can save an entire pass.
5. Respect processing time
After burst capture, watch for BUSY. Wait until processing clears before the next action, especially if you are about to reposition for another critical angle.
6. Fly for repeatability, not drama
QuickShots, Hyperlapse, and ActiveTrack can be useful in the right commercial context, especially for stakeholder visuals or broad progress storytelling. But on a construction survey, the priority is repeatable geometry, usable evidence, and exposure consistency. Fancy movement is secondary to documentation discipline.
Where this leaves Flip in the field
The most useful camera features are often the least glamorous.
Not obstacle avoidance. Not automated subject tracking. Not the cinematic presets people talk about first. Those all have their place. But when you are surveying a high-altitude construction site, image reliability comes from understanding how the camera decides what the scene should look like and how each mode behaves under pressure.
The reference material gives us three practical truths:
- There are three distinct multi-shot modes: Burst, Time Lapse, and Night Lapse.
- Spot metering is valuable when shooting from darker conditions toward brighter scenes.
- Photo-mode metering changes do not automatically transfer to other capture modes.
Those are not trivial menu notes. They shape whether a survey mission produces decision-grade imagery.
If I were training a Flip operator for elevated construction work, I would drill those points before discussing any advanced flight flourish. Because on real sites, the best mission is usually the one that comes back with clear, consistent files the first time.
Ready for your own Flip? Contact our team for expert consultation.