Flip: Surveying Solar Farms in Complex Terrain
Flip: Surveying Solar Farms in Complex Terrain
META: Learn how the Flip drone transforms solar farm surveying in complex terrain with obstacle avoidance, D-Log capture, and expert antenna positioning tips.
TL;DR
- The Flip excels at surveying large-scale solar installations across uneven, obstacle-heavy terrain where traditional survey methods fail
- Antenna positioning is the single biggest factor in maintaining reliable control links over sprawling solar arrays
- D-Log color profile and Hyperlapse modes capture usable inspection data that translates directly into actionable maintenance reports
- ActiveTrack and obstacle avoidance work together to let a single operator cover more ground with fewer flight errors
Why Solar Farm Surveys Demand a Different Approach
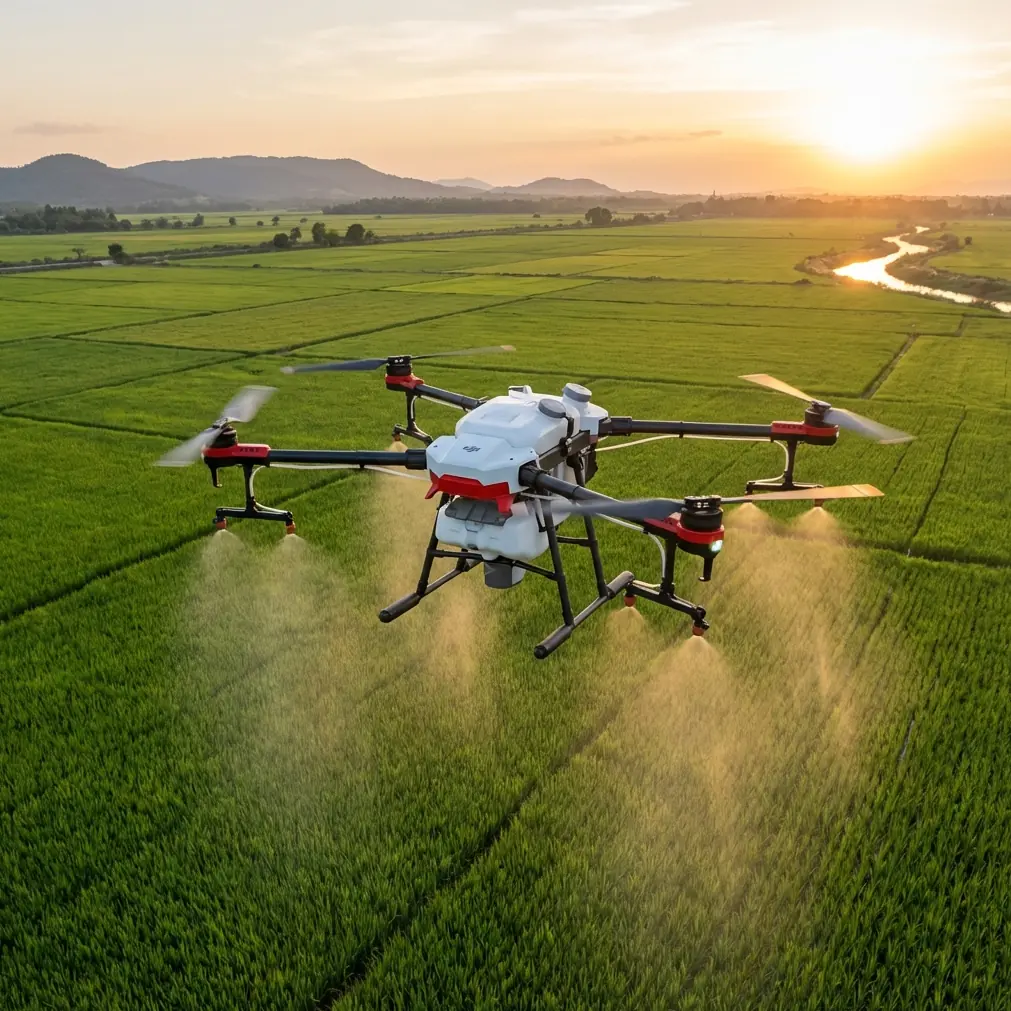
Solar farm surveying isn't like mapping an open field. Panels sit on racking systems at varying heights. Inverter stations, combiner boxes, perimeter fencing, and transmission infrastructure create a dense obstacle environment that punishes sloppy flight planning. One clipped panel edge means lost equipment and lost client trust.
I'm Chris Park, and I've been flying the Flip across solar installations ranging from 5-acre community arrays to 200+ acre utility-scale farms for the past year. This field report breaks down exactly how I use the Flip's feature set to deliver accurate, repeatable survey data—and how proper antenna positioning eliminates the range dropouts that plague solar site operations.
The Core Challenge: Signal Integrity Over Solar Arrays
Here's something most drone operators learn the hard way on their first solar job: metal racking and reflective glass panels wreak havoc on radio signals. The ground-level reflection creates multipath interference that can cut your effective control range by 30–50% compared to flying over open ground.
This is where antenna positioning becomes mission-critical.
Antenna Positioning for Maximum Range on Solar Sites
The Flip's controller uses a dual-antenna design that responds directly to how you orient it relative to the aircraft. Most operators hold their controller flat or pointed vaguely toward the drone. On a solar site, that approach will cost you.
Here's my proven positioning protocol:
- Elevate the controller above waist height—I use a simple lanyard and hold the controller at chest level, tilting the antennas so their flat faces point directly at the Flip
- Never stand between panel rows during flight; position yourself at the array perimeter on elevated ground whenever possible
- Orient antenna tips perpendicular to the drone's position, not parallel—signal radiation patterns emit strongest from the flat sides
- Avoid standing near inverter stations or transformer pads, which generate electromagnetic interference that degrades link quality at distances beyond 800 meters
- If flying the far edge of a large array, reposition yourself to a midpoint rather than pushing range limits from a corner
Pro Tip: On sites larger than 50 acres, I break the survey into sectors and physically relocate my ground station between flights. This adds 10–15 minutes to total mission time but eliminates the signal anxiety that causes rushed, incomplete data captures.
Flight Planning: How I Set Up the Flip for Solar Surveys
Before the Flip ever leaves the ground, I spend 20–30 minutes on pre-flight planning that directly determines data quality.
Step 1: Define Flight Corridors
Solar arrays have natural corridors—the gaps between panel rows, access roads, and perimeter paths. I map these corridors as primary flight lines because they give the Flip's obstacle avoidance system clean sightlines to detect racking edges and support structures.
Step 2: Set Altitude Tiers
I fly every solar survey at three altitude tiers:
- High pass (40–50 meters AGL): Overall site mapping, identifying large-scale issues like vegetation encroachment or drainage problems
- Mid pass (15–25 meters AGL): Panel-level inspection, capturing surface defects, soiling patterns, and hot spots when paired with thermal overlays
- Low pass (5–10 meters AGL): Detail work around inverters, wiring runs, and specific damage areas flagged in higher passes
Step 3: Configure Camera Settings
For solar work, I lock the Flip into D-Log color profile before every flight. D-Log captures a wider dynamic range, which is essential when you're photographing highly reflective glass surfaces adjacent to dark ground or vegetation. The flat color profile preserves highlight and shadow detail that standard color modes clip entirely.
Expert Insight: D-Log footage looks washed out on the controller screen, and new operators panic thinking their exposure is wrong. Trust the histogram, not your eyes. In post-processing, D-Log data reveals panel micro-cracks, delamination, and junction box discoloration that would be invisible in a standard color capture.
Leveraging ActiveTrack and Obstacle Avoidance Together
The Flip's ActiveTrack (subject tracking) system pairs remarkably well with its obstacle avoidance sensors for a specific solar survey technique I call "row riding."
Here's how it works:
- Position the Flip at the start of a panel row at 8–12 meters AGL
- Lock ActiveTrack onto the row's edge or a specific panel feature
- Initiate forward flight along the row at 3–4 m/s
- The obstacle avoidance system handles lateral drift correction, keeping the Flip centered while ActiveTrack maintains consistent framing
This technique produces uniform, repeatable inspection footage across hundreds of panel rows without requiring constant manual stick inputs. A single operator can document an entire row block in one battery cycle.
When to Use QuickShots and Hyperlapse
QuickShots serve a specific purpose on solar surveys: client-facing deliverables. Automated orbital and rocket shots around inverter stations or completed installation sections create polished visual assets that EPC contractors use in commissioning reports and investor updates.
Hyperlapse mode is where real operational value lives. I run Hyperlapse captures along site perimeters and access roads to create compressed time-based visual records. When a client questions whether vegetation management was performed between quarterly inspections, a 30-second Hyperlapse comparison tells the story instantly.
Technical Comparison: Flip vs. Common Solar Survey Alternatives
| Feature | Flip | Fixed-Wing Mapper | Manual Ground Inspection |
|---|---|---|---|
| Setup Time | 5–10 min | 20–30 min | N/A |
| Obstacle Avoidance | Multi-directional sensors | None | N/A |
| Subject Tracking | ActiveTrack | Not available | N/A |
| D-Log / HDR Capture | Yes | Limited | Camera-dependent |
| Low-Altitude Detail Work | Excellent (5m AGL capable) | Poor (minimum 30m+ AGL) | Ground-level only |
| Coverage per Battery | 8–15 acres | 50–100 acres | 1–2 acres per hour |
| Terrain Adaptability | High (follows contour) | Low (fixed altitude) | High but slow |
| Single-Operator Viable | Yes | Often requires spotter | Yes |
| Hyperlapse Capability | Built-in | No | No |
The Flip doesn't replace fixed-wing mappers on massive utility sites where raw acreage coverage matters most. But for detailed panel-level inspection, obstacle-dense environments, and sites under 100 acres, it delivers data quality that fixed-wing platforms simply cannot match.
Common Mistakes to Avoid
1. Flying directly over panels at noon. Solar panels at peak production create thermal updrafts and maximum glare simultaneously. Schedule detail passes for early morning or late afternoon when panel surfaces are cooler and sun angles reduce specular reflection.
2. Ignoring wind patterns between panel rows. Racking systems create turbulent micro-winds at low altitudes. The Flip's stabilization handles moderate turbulence well, but flying at 3–5 meters AGL between tall racking systems in 15+ mph winds invites trouble. Increase altitude or wait for calmer conditions.
3. Using auto-exposure over solar arrays. The Flip's auto-exposure will oscillate wildly as the camera passes between dark ground and reflective panels. Lock exposure manually before each pass, or use AE Lock on a mid-tone reference point at the start of each row.
4. Neglecting to calibrate the compass on-site. Solar farms contain enormous amounts of ferrous metal in their racking and grounding systems. Always calibrate the Flip's compass at each new launch point, not just once per site visit.
5. Storing D-Log footage without backup. D-Log files are your raw survey data. I run dual SD cards and transfer to a field laptop between flights. Losing a single flight's data can mean returning to site—an expense no margin can absorb.
Frequently Asked Questions
How many acres can the Flip survey on a single battery?
Coverage depends on altitude and flight speed. At a high-pass mapping altitude of 40–50 meters, expect to cover 12–15 acres per battery. For detailed low-altitude panel inspection at 8–10 meters AGL, realistic coverage drops to 4–6 acres per battery due to slower flight speeds and more frequent turns.
Does the Flip's obstacle avoidance work reliably around solar panel racking?
Yes, with caveats. The multi-directional sensors detect solid obstacles like racking posts and inverter enclosures consistently at speeds under 5 m/s. Thin elements like guy wires and narrow conduit runs can fall below the sensor detection threshold. I always pre-survey the site on foot and mark thin-wire hazards on my flight map before launching.
Is D-Log necessary for solar surveys, or can I use standard color profiles?
D-Log isn't strictly required, but it's strongly recommended. Standard profiles clip highlights on reflective panel surfaces, destroying the detail you need to identify hairline cracks, cell discoloration, and early-stage delamination. The extra 15–20 minutes of post-processing per flight to color-correct D-Log footage pays for itself in defect detection accuracy. If you deliver survey reports to clients, D-Log-sourced imagery looks more professional and withstands closer scrutiny.
Ready for your own Flip? Contact our team for expert consultation.